Button
The Button tool is used to interact with the presentation and allows users to perform three specific actions:
- Switch screen to a different slide
- Show or Hide a Tool
- Change value of a variable
The first two features of the Button tool do not require any definition in the Project Notebook. For the third feature (changing the value of a variable), a function needs to be defined in the Project Notebook.
See here on how to set up the Button Tool in the Project Notebook.
Place Button on a Slide
In order to put a button on a slide, follow the following steps:
First, open the tool selection panel in Edit Mode on the page that you want to place a button in by following steps outlined here.
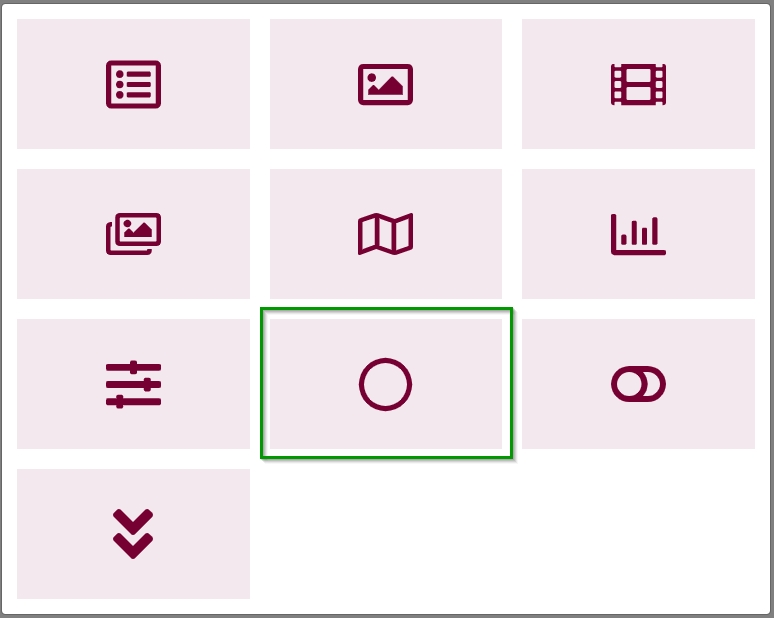
Then, click on the Button icon (signified by a circle).
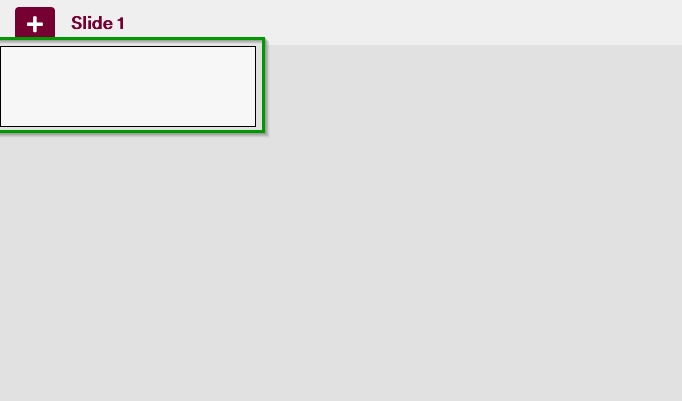
This will place a container for the Button Tool onto the slide.
When a user hovers over this container, they will be presented with a gear icon (on the top right of the container) that they can click on.

Clicking on this icon opens an interface that allows users to select the options for setting the button behavior.
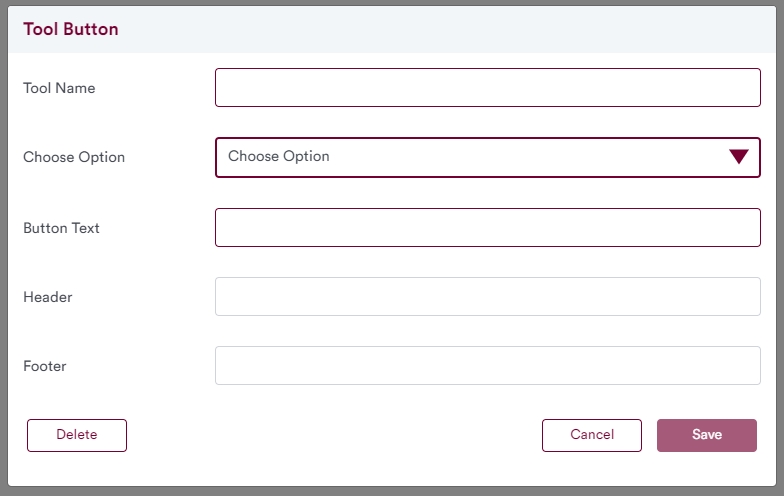
The required fields in this interface are the Tool Name, Button Text, and Choose Option.
- Tool Name: allows you to set a unique identifier for the button.
- Button Text: allows you to set the text that appears on the button.
- Choose Option: allows you to set the feature of the button.
When the Tool Name, Button Text and the button features have been set/selected, users can click on the "Save" button. Then, users are taken back to the slide in Edit Mode.
Setting Features of a Button (Edit Mode)
To use the different features of the button, users need to select an option from the drop-down that appears in the Choose Option section of the tool settings panel as shown below.
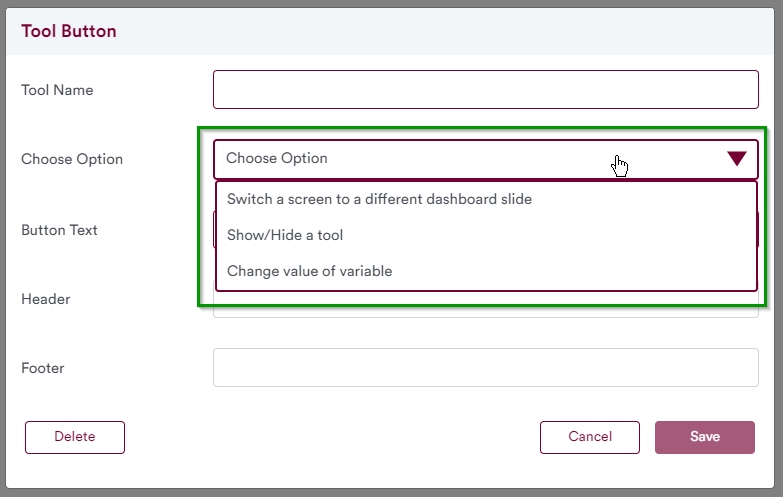
Depending on the selection made in this field, more options (that are mandatory) are presented to the user. These cases are discussed in their respective section below.
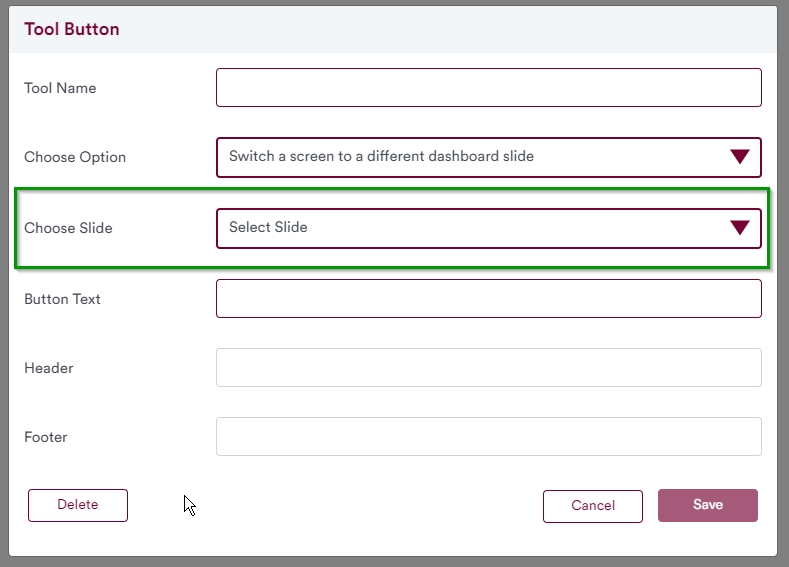
Switch screen to a different slide
With this feature, a button that can be used to change the slide to any slide that has been defined can be placed on a slide.
This button feature can be activated by selecting "Switch a screen to different dashboard slide" from the dropdown menu presented above. When a user clicks on this option, they will be presented with an additional dropdown menu called "Choose Slide" where the user can select a slide that they want.
From this point, the user can select a slide from the dropdown menu including the Tool Name and Button Text as shown below.
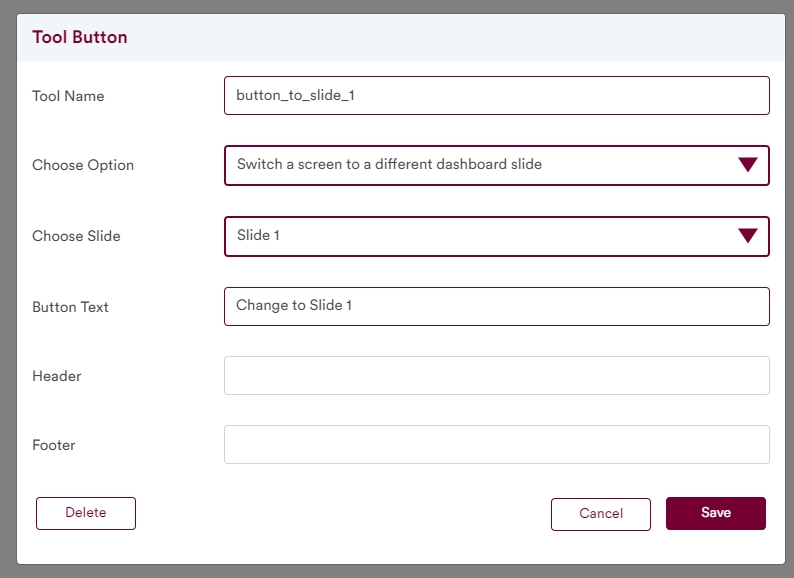
Optionally, the user can also set a Header and a Footer Text for the button tool that is to be placed on the slide.
Finally, the user can click on the save button in order to create the tool with the correct settings.
Following this, the user can resize or reposition the tool as they desire.
The final result is a button with the selected action placed on a slide as shown in the example below. Do note that this slide is currently in Edit Mode. The rectangular box around the button does not appear when the slide is viewed in Presentation or Controller Modes.

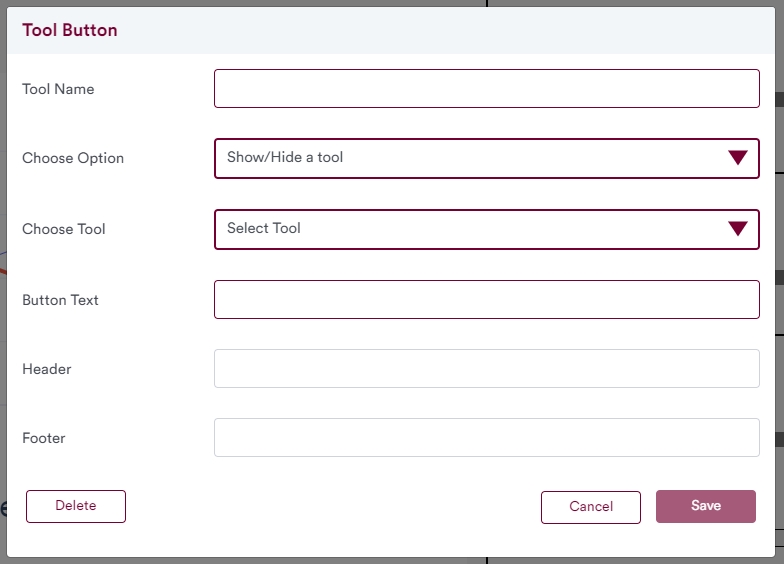
Show or Hide a Tool
With this feature, a button that can be used to show or hide a tool on the current slide can be placed on the slide.
This button feature can be activated by selecting "Show/Hide a Tool" from the dropdown menu presented above. When a user clicks on this option, they will be presented with an additional dropdown menu called "Choose Tool" where the user can select a tool that has already been placed on the current slide.
From this point, the user can select a MoLöwe Tool from the dropdown menu including the Tool Name and Button Text as shown below.
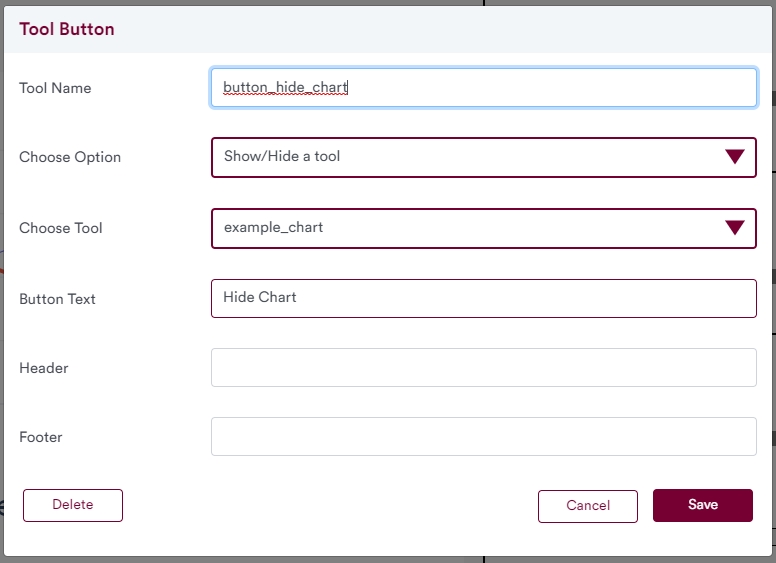
Optionally, the user can also set a Header and a Footer Text for the button tool that is to be placed on the slide.
Finally, the user can click on the save button in order to create the tool with the correct settings.
Following this, the user can resize or reposition the tool as they desire.
The final result is a button with the selected action placed on a slide.
Do note that when the slide is in Edit Mode, a rectangular box appears around the button. This box does not appear around the button when the slide is viewed in Presentation or Controller Modes.
Change value of a variable
With this feature, a button that can be used to change a value stored in a variable in the Project Notebook. As such, operating this tool requires that a function is defined in the Project Notebook that allows an interaction between the variable defined in the Project Notebook and the button tool to take place.
Using the Edit Mode on the Front-End
Provided that a function has been defined in the Project Notebook as shown above, the button feature can be activated
in the Edit Mode by selecting "Change value of variable" from the "Choose option" dropdown menu.
When a user clicks on this option, they will be presented with an additional dropdown menu called "Set Function"
where the user can select a tool that has already been placed on the current slide (in this example, the set_to_one
function will be presented).
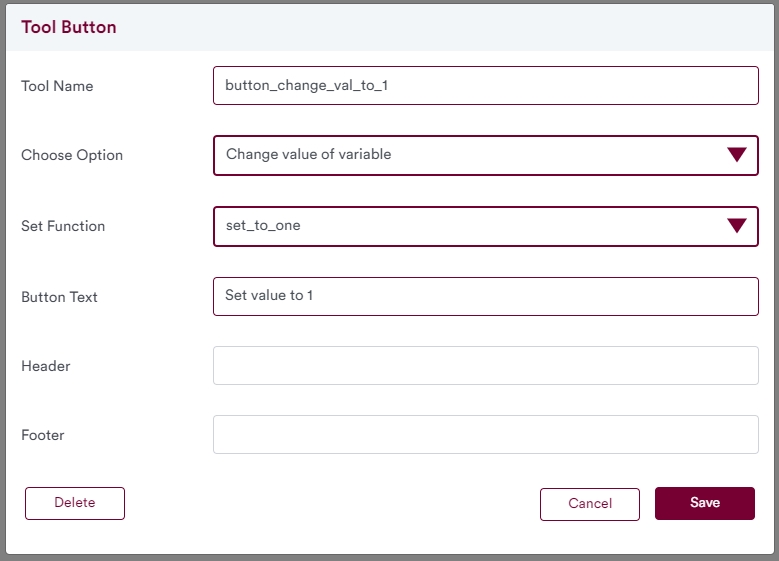
From this point, the user can select a MoLöwe Tool from the dropdown menu including the Tool Name and Button Text as also shown above.
Optionally, the user can also set a Header and a Footer Text for the button tool that is to be placed on the slide.
Finally, the user can click on the save button in order to create the tool with the correct settings.
Following this, the user can resize or reposition the tool as they desire.
The final result is a button with the selected action placed on a slide. Do note that when the slide is in Edit Mode, a rectangular box appears around the button. This box does not appear around the button when the slide is viewed in Presentation or Controller Modes.
Using Features of a Button (Presentation Mode)
While viewing a slide that contains a Button Tool on Presentation Mode, users can interact with the button by clicking it with their mouse pointer (if using a desktop computer with a mouse) or by pressing on it (if using a touchscreen display device).