Video
The Video Tool is used to display a video during a presentation.
It requires a video to be uploaded to MoLöwe beforehand.
The Video Tool does not require definition of a function on the Project Notebook.
Uploading video Files to MoLöwe
The videos that need to be placed on a slide can be uploaded with the process described here.
Placing Video Tool on a Slide (Edit Mode)
To place a Video Tool on a Slide, first upload the video to MoLöwe. Then, open the slide in which the Video Tool needs to be placed in Edit Mode.
Then, open the tool selection panel in Edit Mode on the page that you want to place the tool in by following steps outlined here.
Following that, click on the video icon.
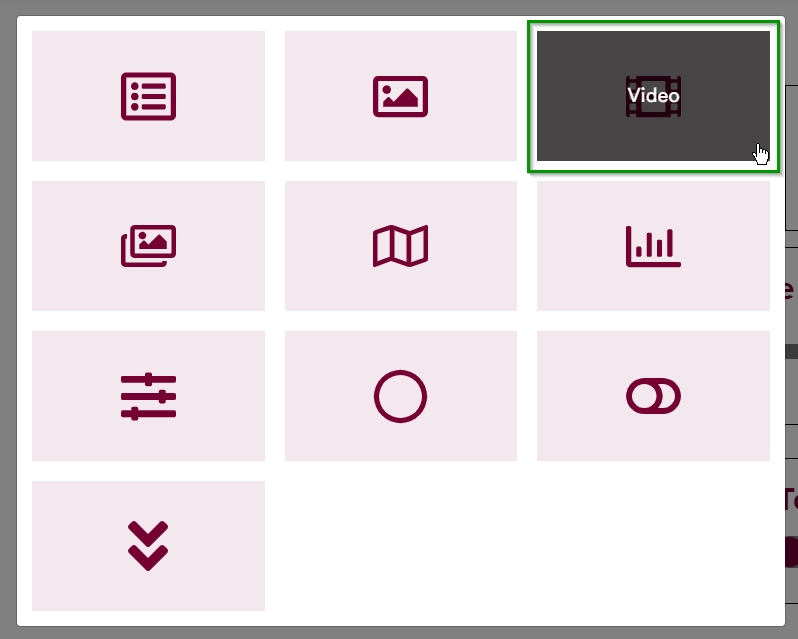
This will place a container for the Video Tool onto the slide.
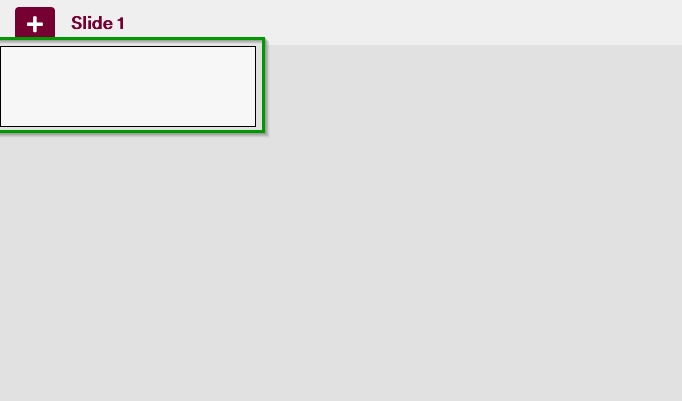
When a user hovers over this container, they will be presented with a gear icon that they can click on.

Clicking on this icon opens an interface that allows users to select the video file that they want to add to the slide.
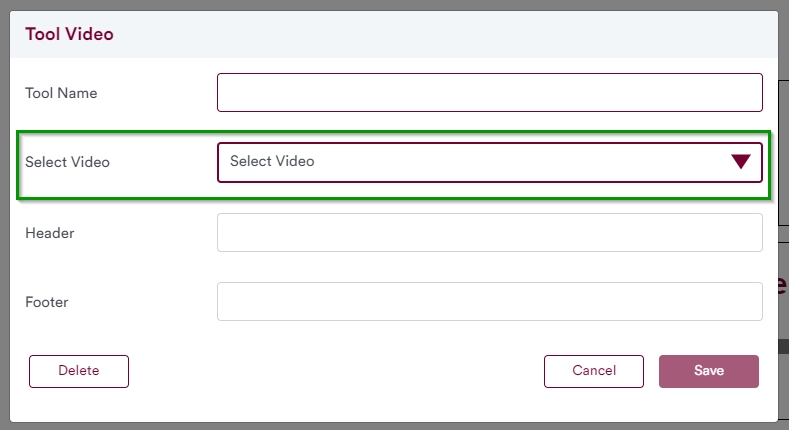
The required fields in this interface are Tool Name and Select video. The Tool Name is a unique identifier for the tool, whereas the Select video is a list of video files that the users can select from. The Header and Footer text are optional.
Once the tool name has been defined and a video file has been selected, users are taken back to the slide in Edit Mode.
Following this, the user can resize or reposition the tool as they desire.
Do note that when the slide is in Edit Mode, a rectangular box appears around the tool. This box does not appear around the tool when the slide is viewed in Presentation or Controller Modes.
Viewing a Video Tool during Presentation
During presentation (i.e. while at Presentation Mode or Controller Mode), users can view the Video Tool that was defined in the Edit Mode using the steps described above.