User Interface
The user interface refers to all the pages you see when you visit the MoLöwe software (link).
In the software you can:
- access, create, and edit projects
- upload new notebooks, upload files, and set up slides and screens (provided you have project edit rights)
- start or view interactive presentations from different projects (provided you have presentation access rights)
User rights (e.g. project edit rights, presentation access rights) are assigned by the MoLöwe administrator (moloewe@leuphana.de).
The pages that constitute the user interface are described in this chapter.
1 Login Page
Here you log in to the MoLöwe software via your web browser.

The user account and password protection feature in MoLöwe should not be considered a secured access and data stored there to be safe from unauthorized access and deletion. The user account system in MoLöwe is primarily in place to organize the access to different functions of it.
2 Selection Page
The user lands on this page when they have successfully logged in. On this page, the user can select between the Edit Mode and Presentation Mode. The two modes are explained in the following chapters.

3 Edit Mode
In Edit Mode, a project can be created, worked on, changed & up- or downloaded. This mode is used for planning and preparing a workshop.
3.1 Projects Page
This is the first page a user sees when they open Edit Mode. In this page, all projects associated with the user are listed.
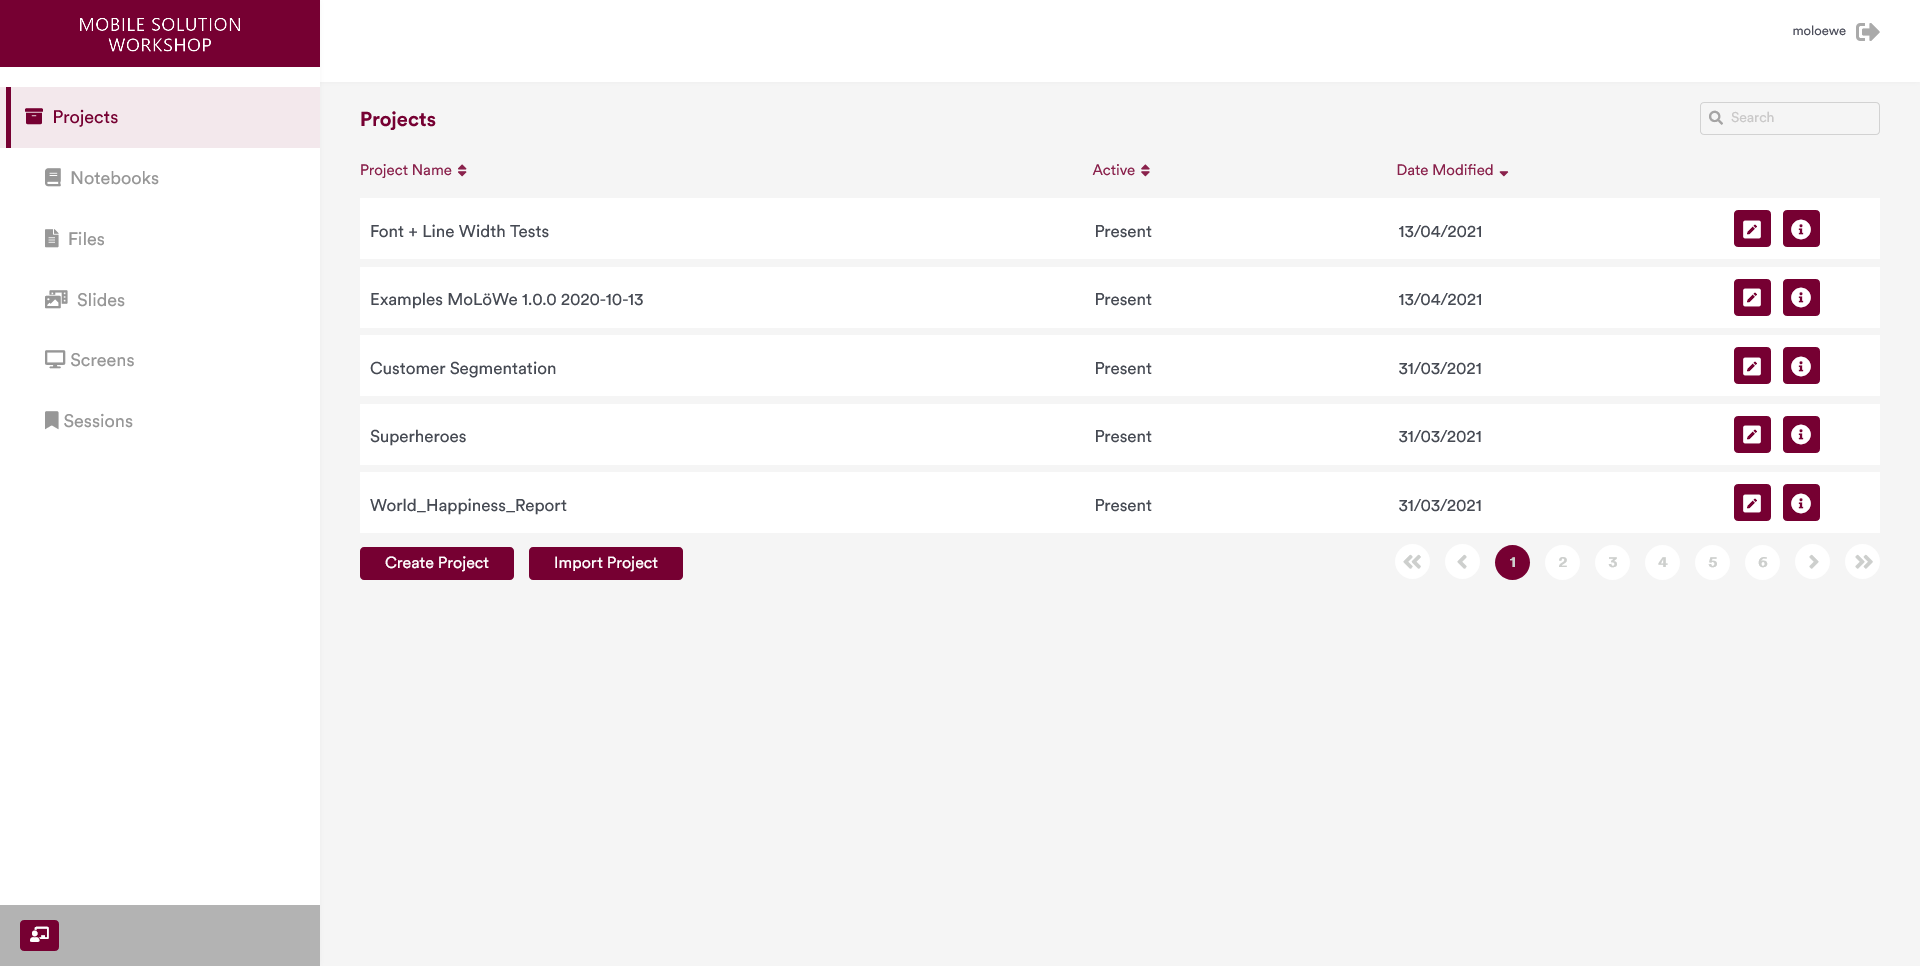
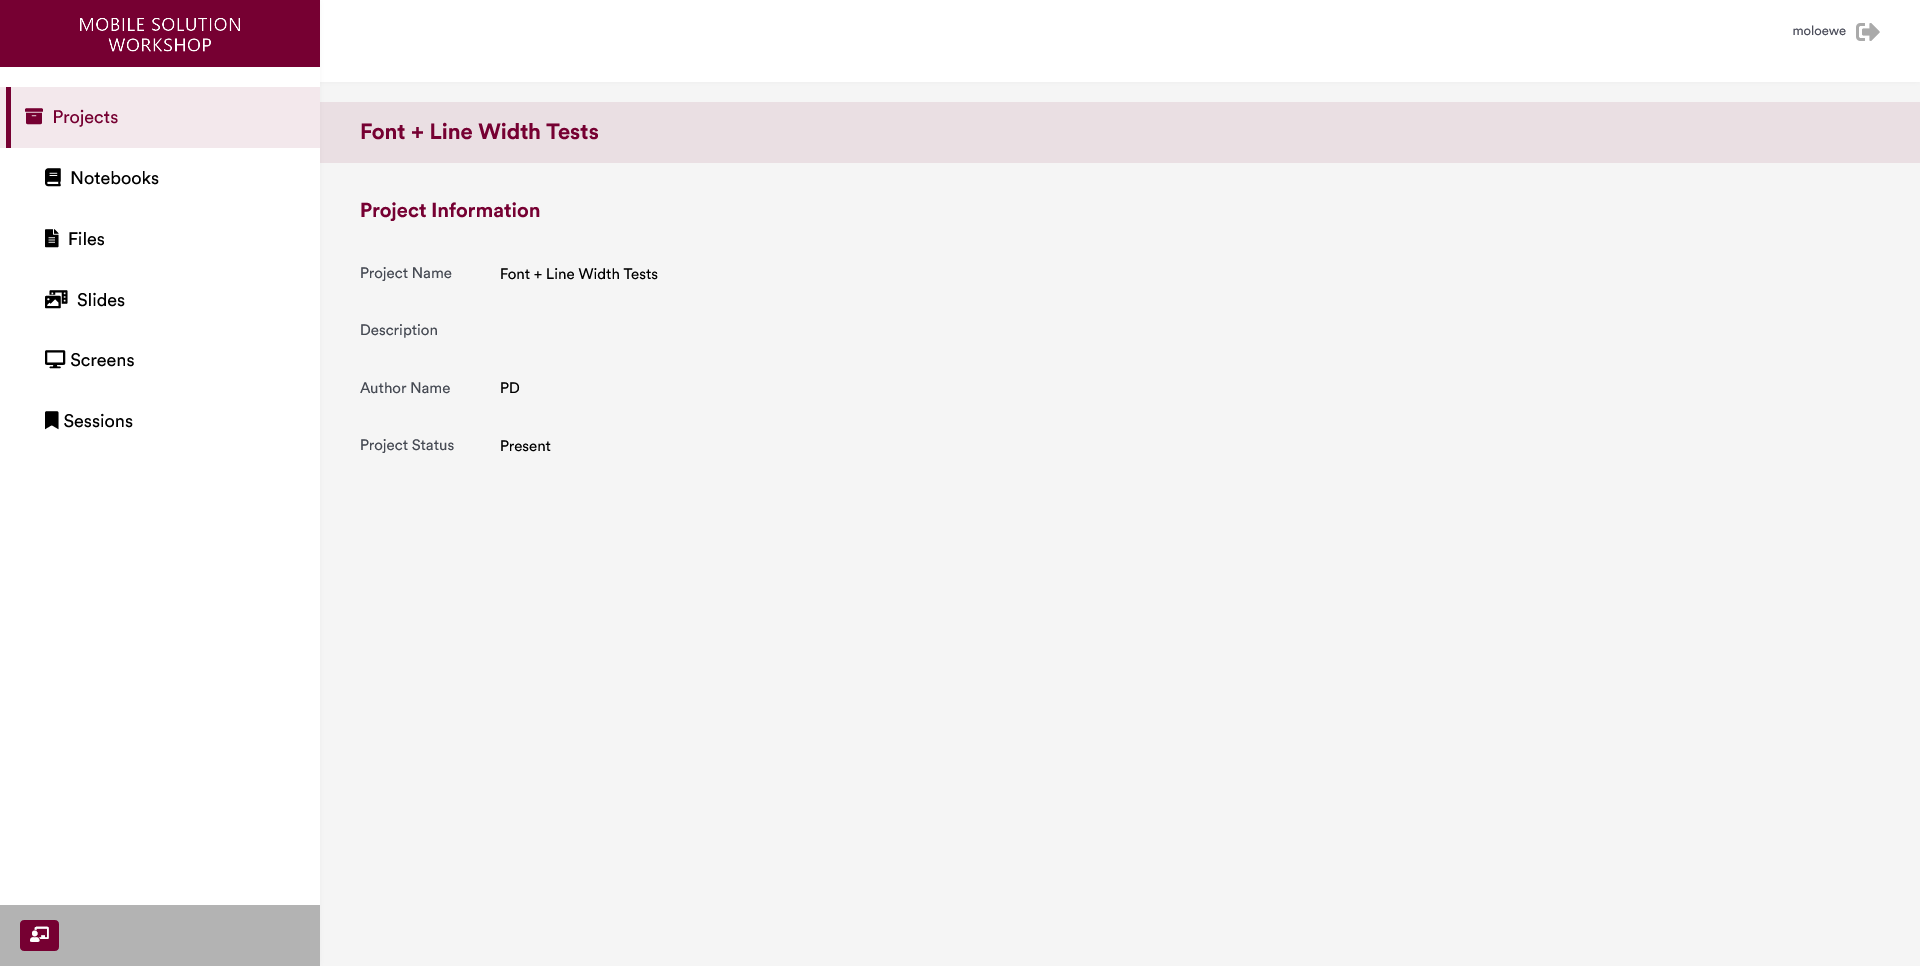
You can click on the name of the project that you want to access. When you do so, you are presented with the details of the project.
In this example, a project named "Font + Line Width Test" was selected.
Further information on the different features of the Projects Page is presented in its own section: Projects Page.
You can access the different subpages of the project in the navigation bar on the left. The subpages are discussed below.
3.2 Notebooks Page
This page lists the Project Notebook associated with the selected project.
Users can upload a new notebook for their project using the "Import Notebook" button.
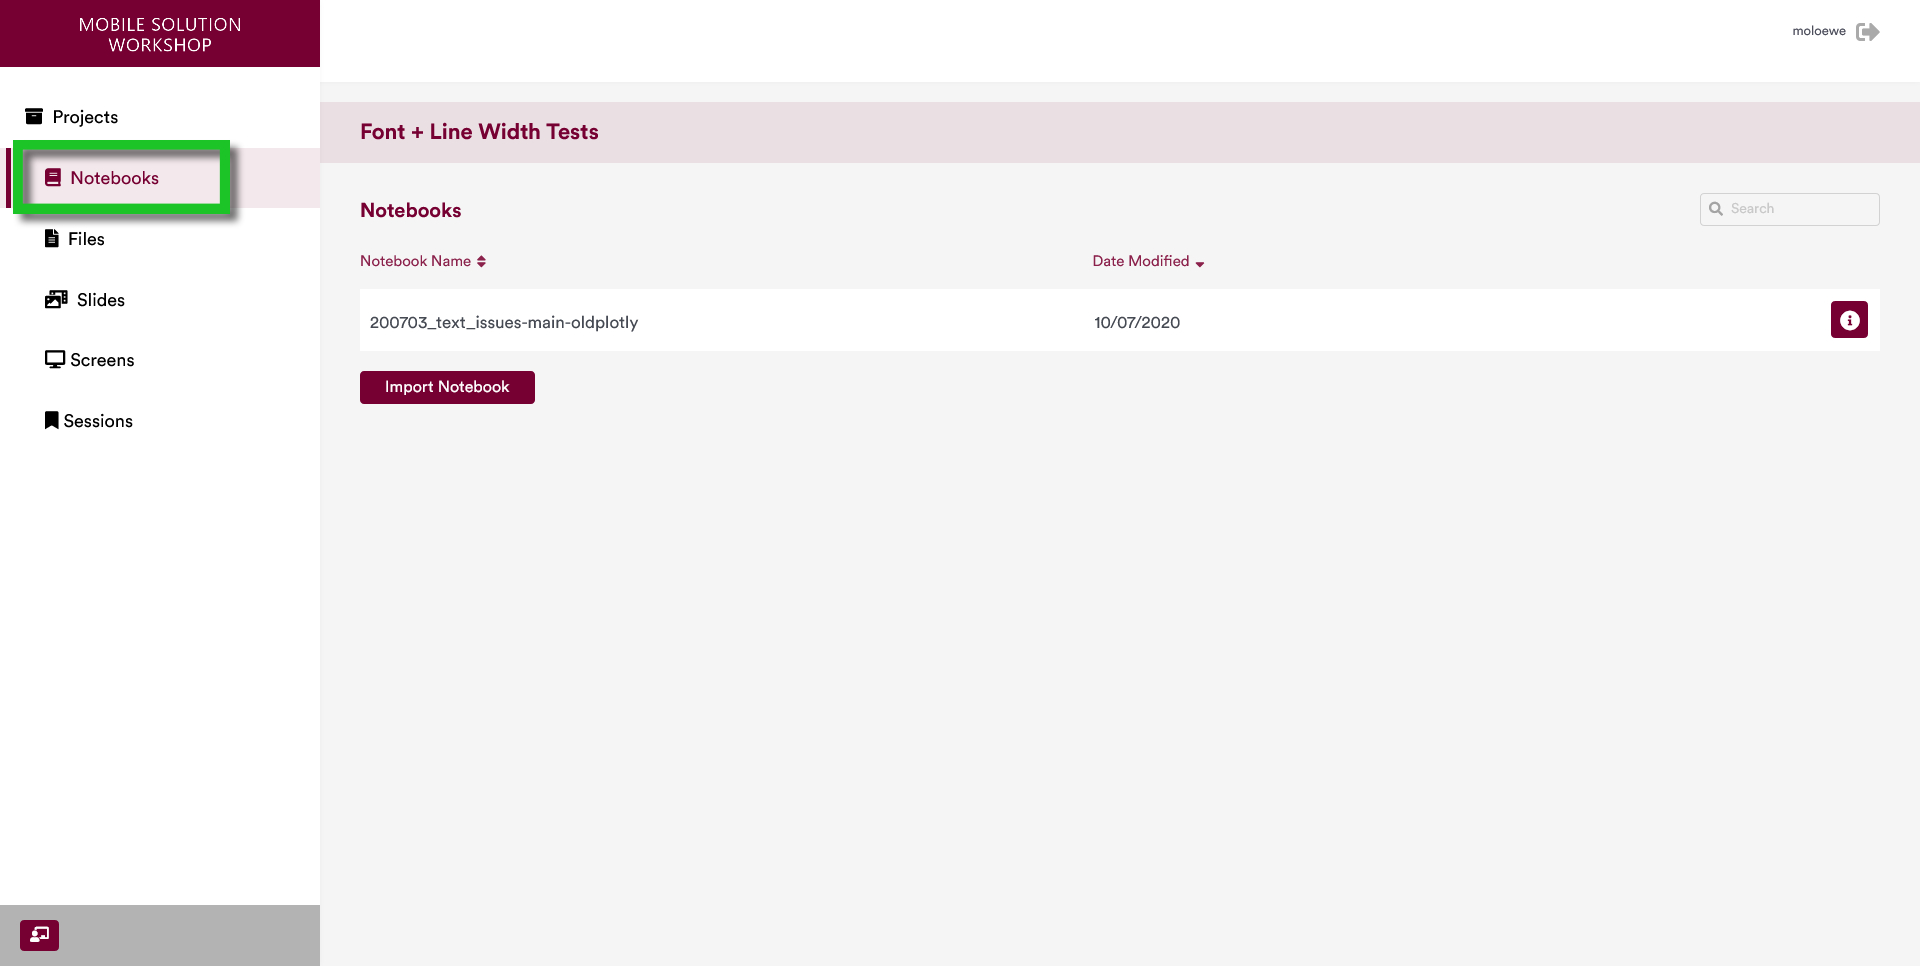
Further information on the different features of the Notebooks Page is presented in its own section: Notebooks Page.
3.3 Files Page
This page lists all the files that have been uploaded to a project.
Users can upload a new file by using the "Import File" button.
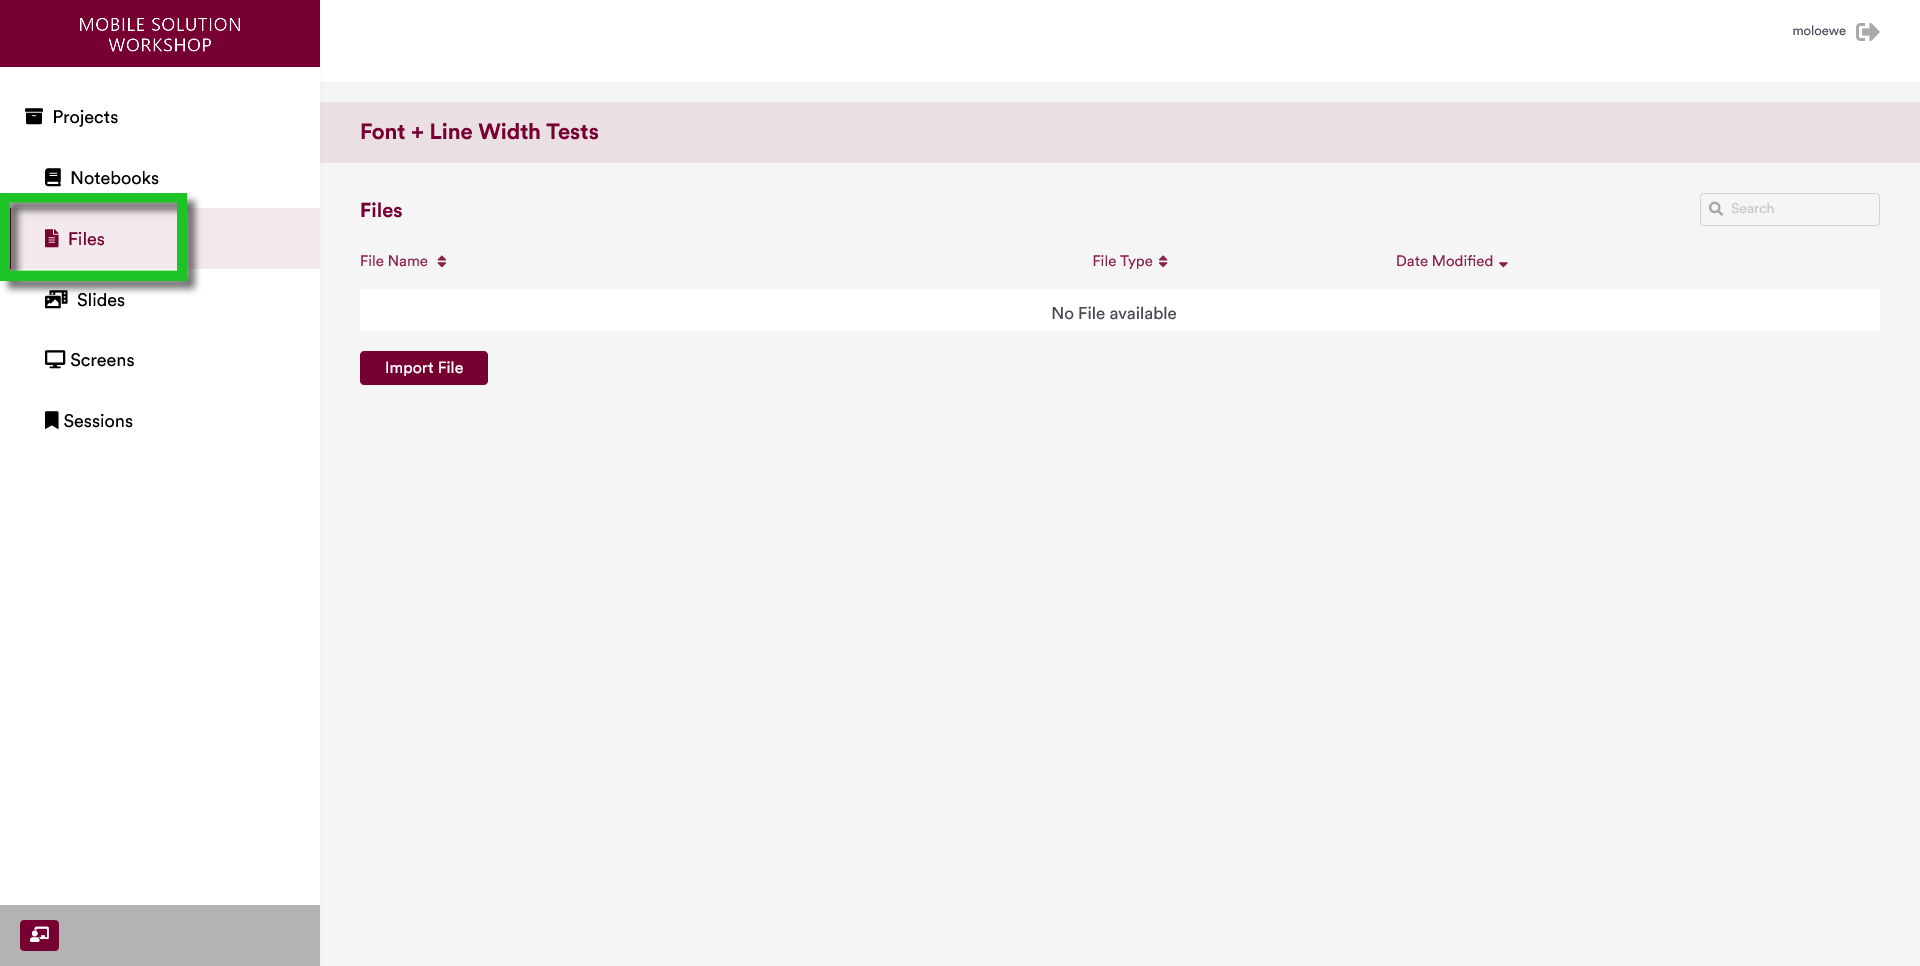
Further information on the different features of the Files Page is presented in its own section: Files Page.
3.4 Slides Page
This page lists all the slides that have been created in a project. When a new project is created, an empty slide with the name "Slide 1" will automatically be created.
New slides can be created by pressing the "Create Slide" button.
Users can edit slide contents on this page.

Further information on this and the other features of the Slides Page is presented in its own section: Slides Page.
3.5 Screens Page
This page lists all the screens that have been created in a project.
When a new project is created, an empty slide with the name "Screen 1" will automatically be created. By default, Screen 1 has Slide 1 as its start slide.
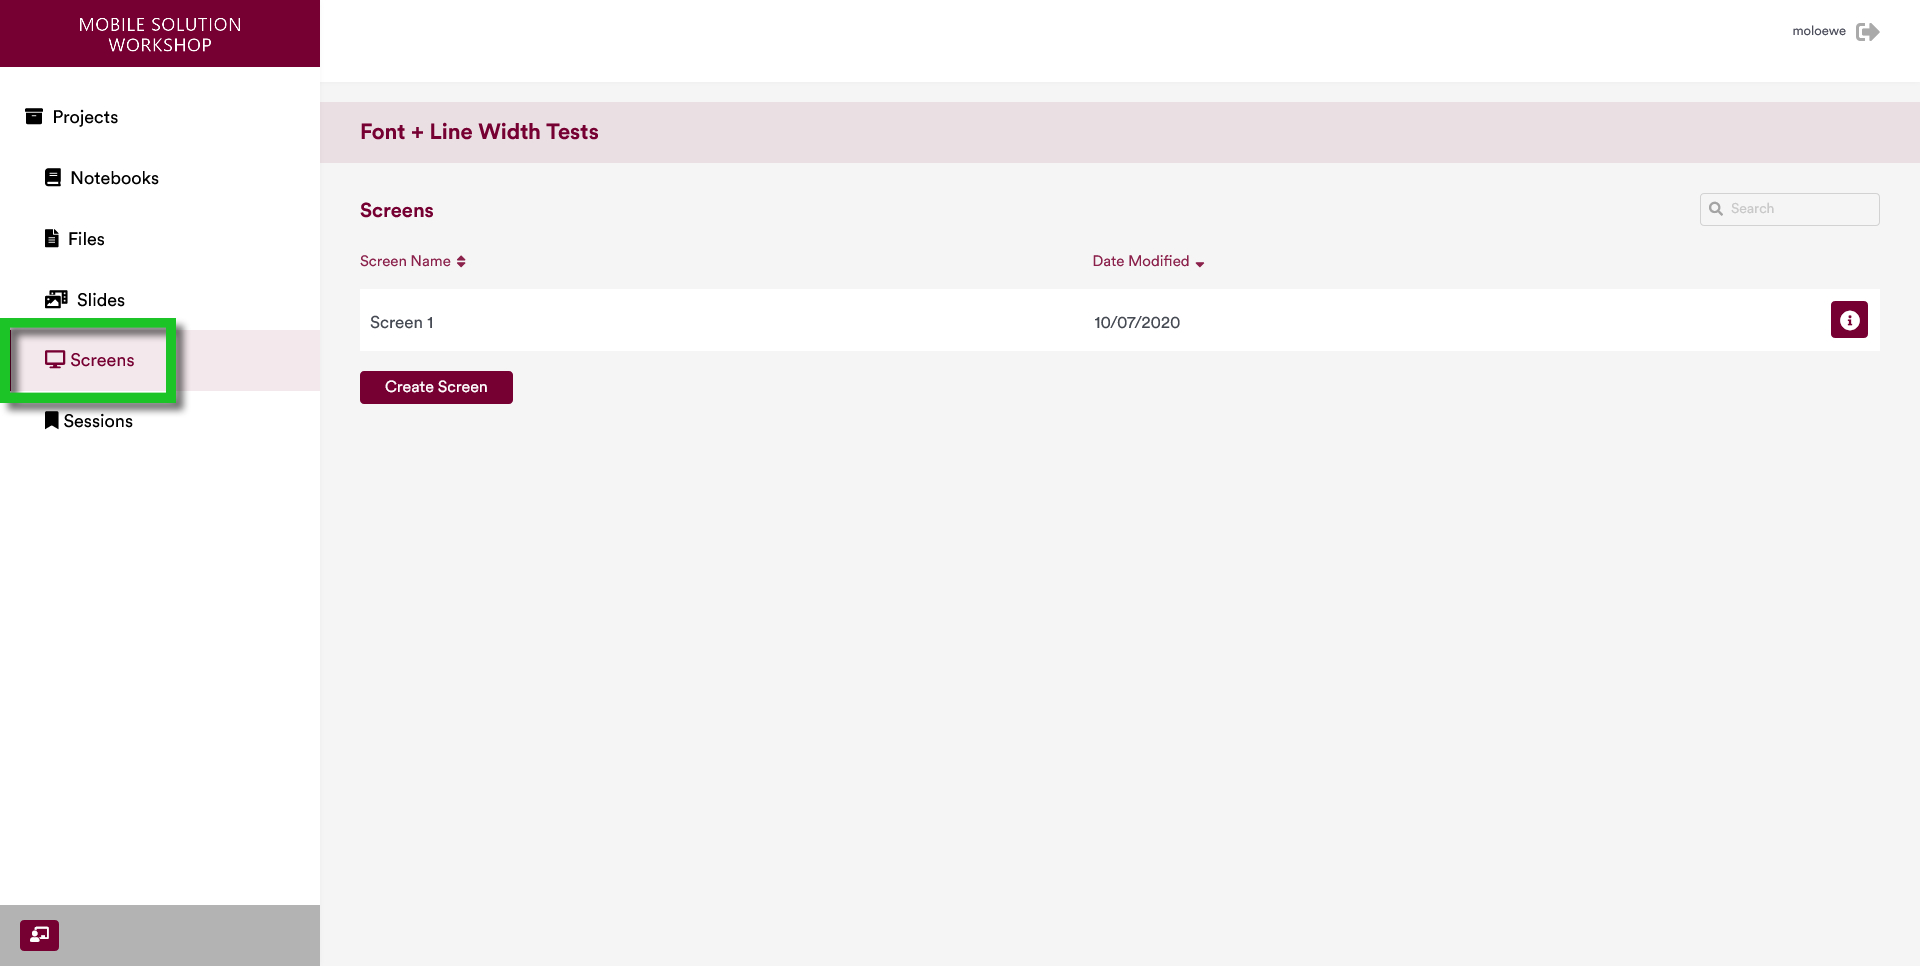
Further information on the different features of the Screens Page is presented in its own section: Screens Page.
3.6 Sessions Page
This page lists all the sessions that have been created during a presentation session of a project.
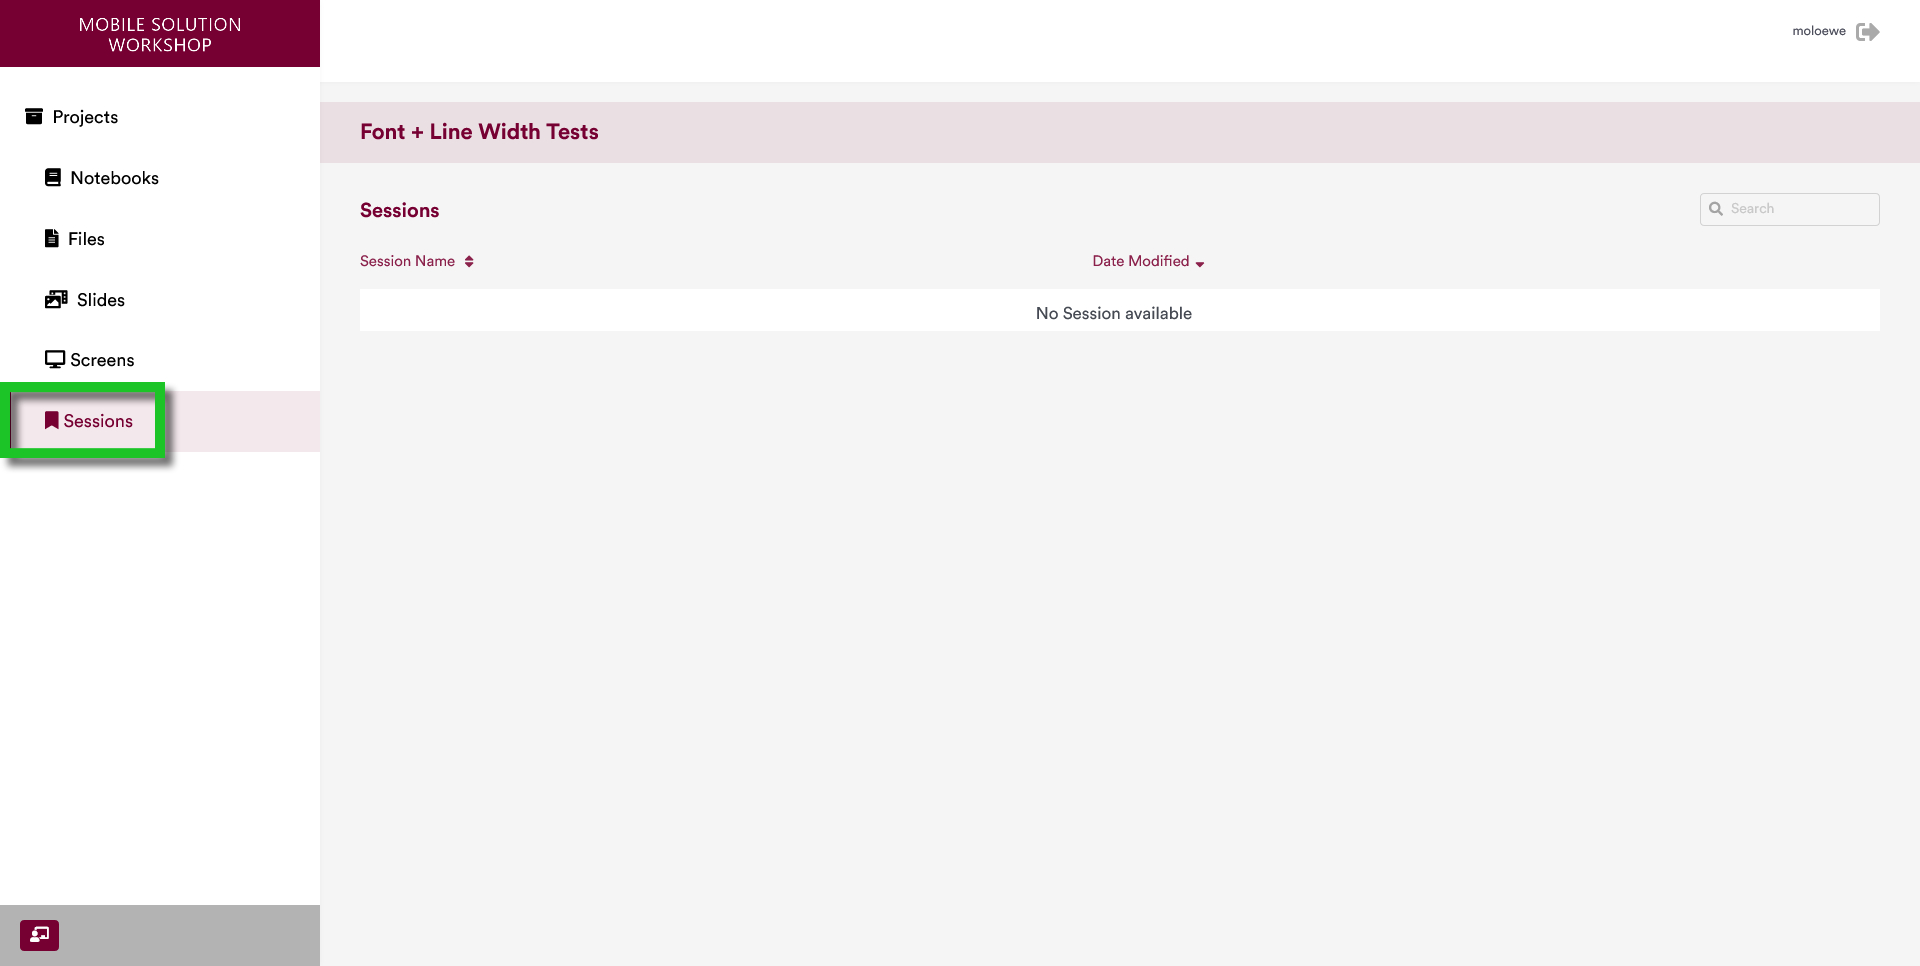
Further information on the different features of the Sessions Page is presented in its own section: Sessions Page.
3.7 Starting a Presentation
You can start Presentation Mode directly from Edit Mode by pressing on the button on the bottom-left part of the edit page.

When this button is pressed, the Presentation Mode will open which allows users to start a presentation by selecting a project.
Of course, you can also start Presentation Mode from the selection page if you prefer.
4 Presentation Mode
In this mode, a finished presentation can be presented and controlled.
There are four drop-down lists that need to be filled out.
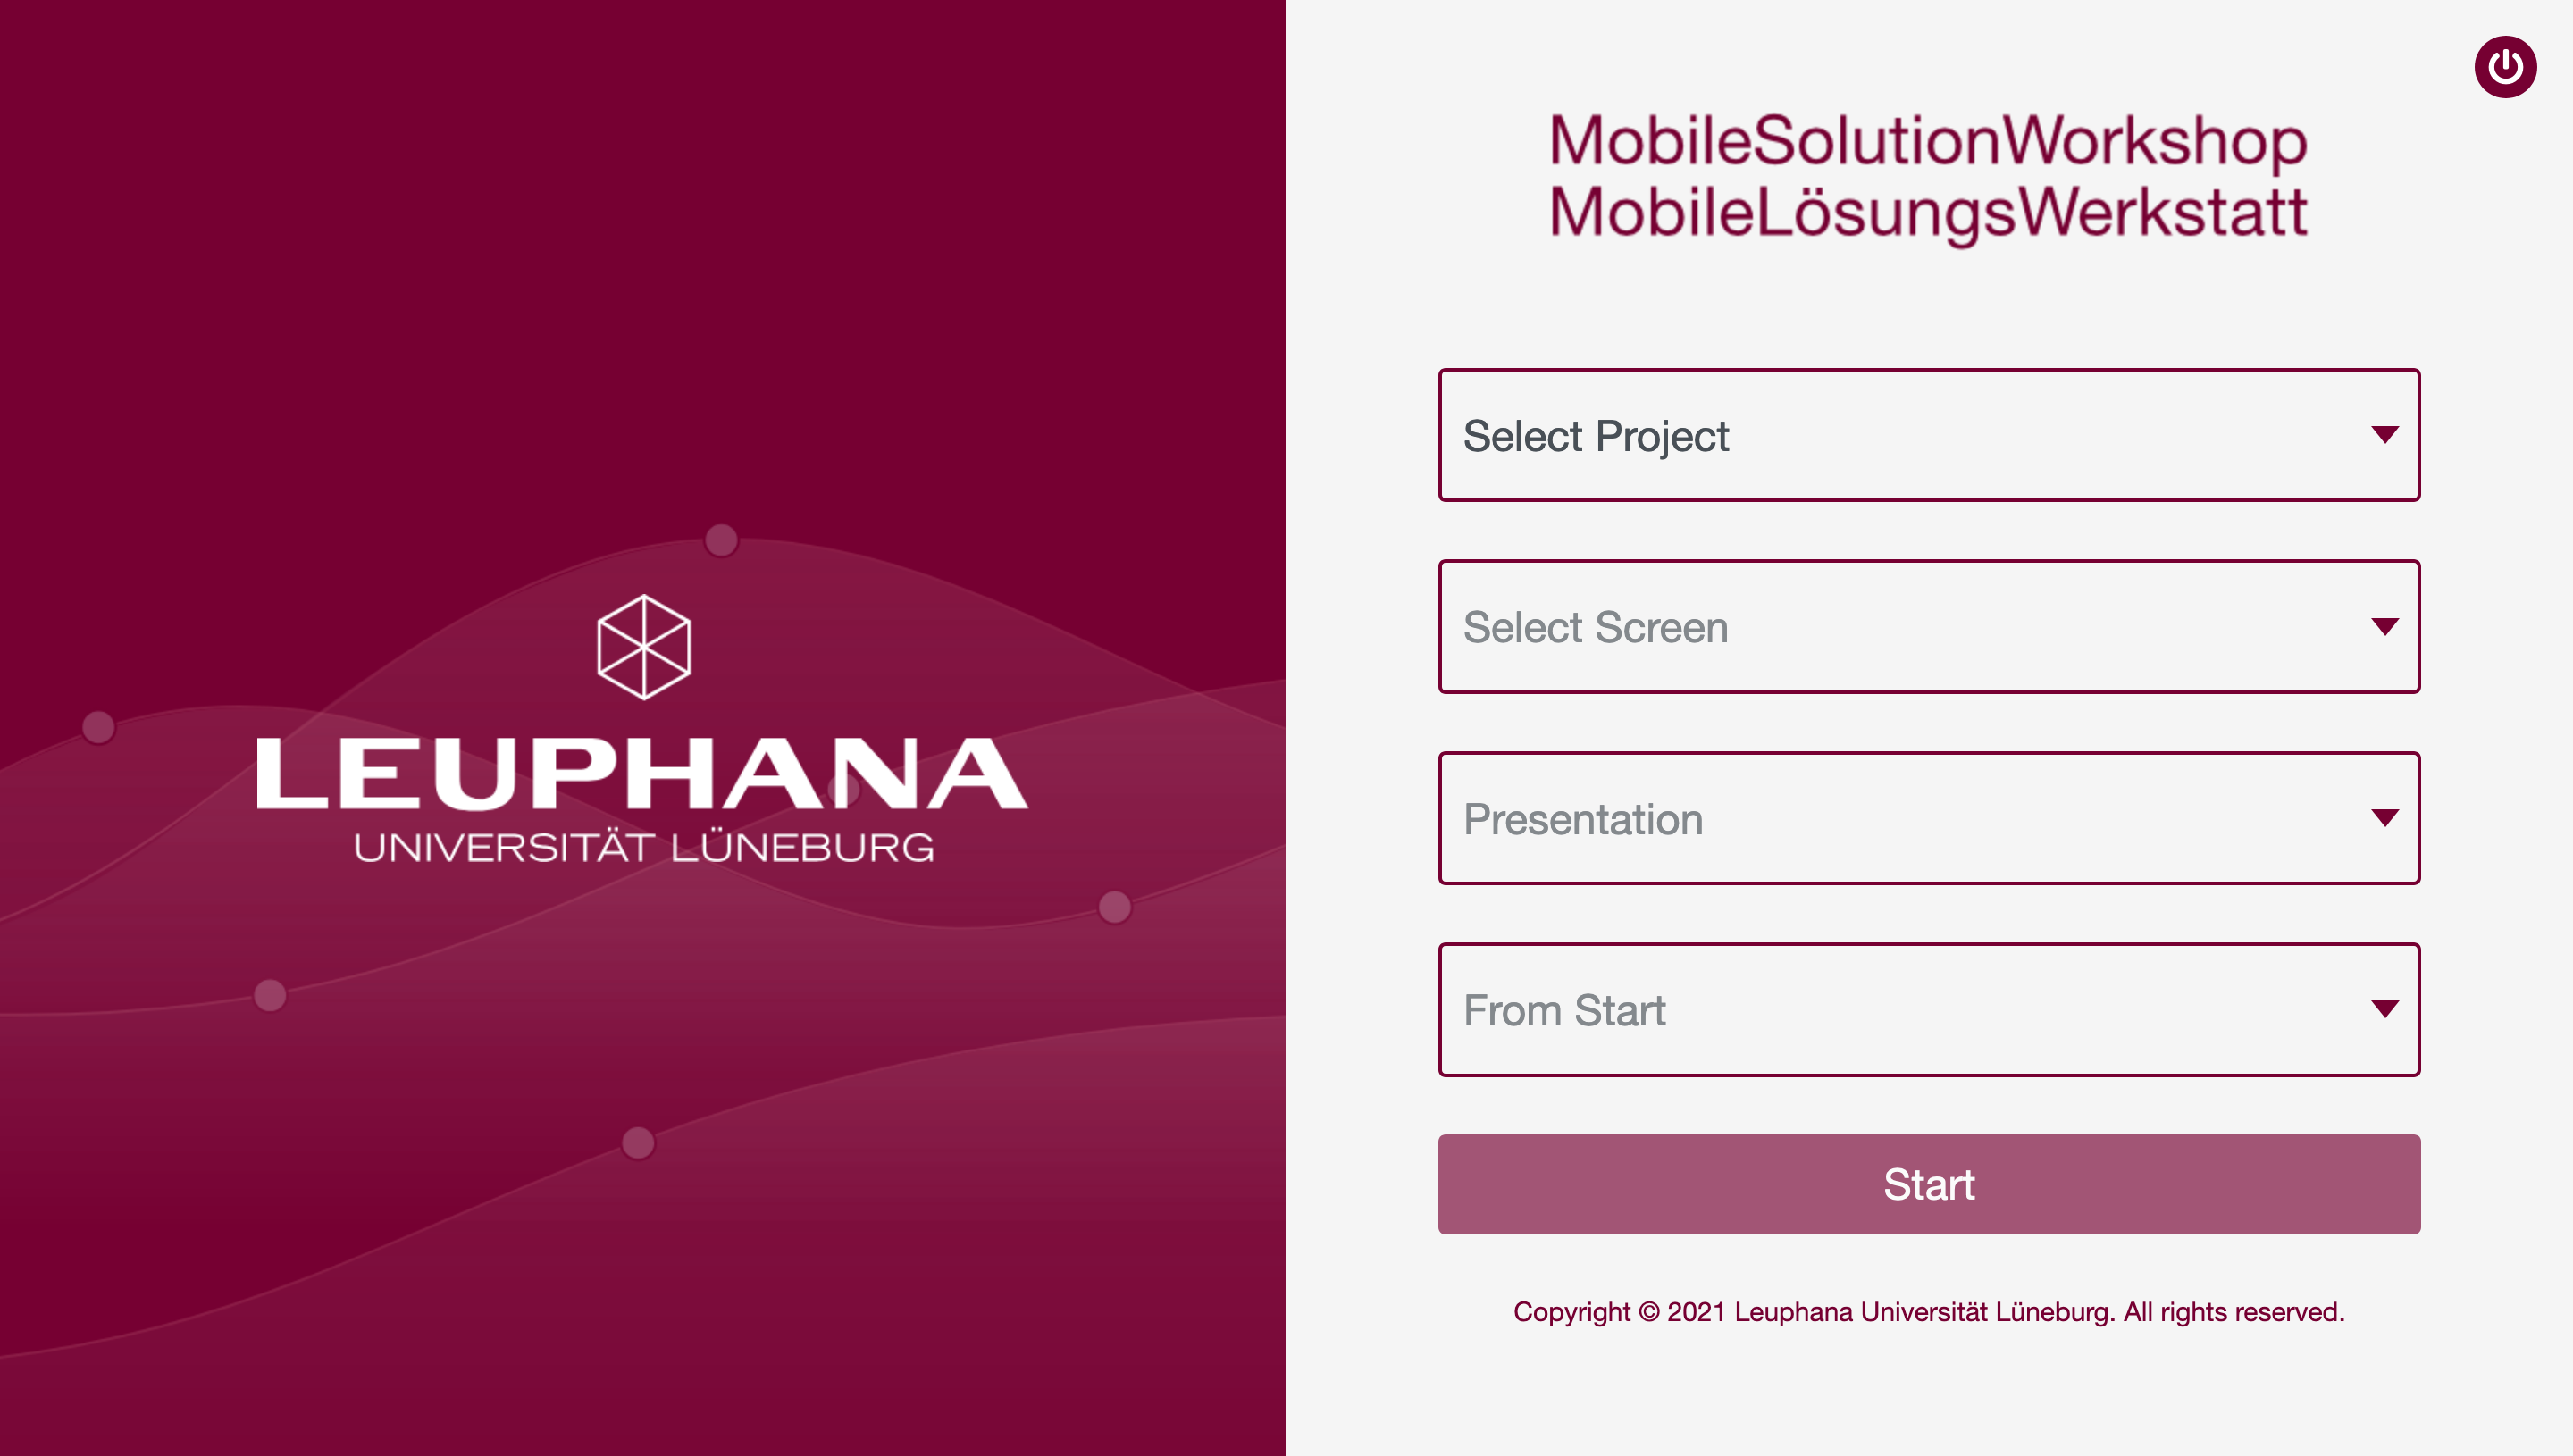
4.1 Select project
This dropdown list contains all projects the user has access rights to and that are saved on the MoLöwe.
4.2 Select screen
This dropdown list shows all screens meaning all defined Screens in Edit Mode. Here, it make sense to have names as the devices in use, for example, Monitor 1 and Tablet 3 etc. (for further clarification, see Glossary).
4.3 Presentation
In this dropdown menu, the user can choose if the selected screen should be deployed in Presentation or Controller mode.
Presentation Mode is selected for screens that are displayed to the audience. Controller mode is selected for the moderators' tablet, where she/he can switch between the displayed slides.
To launch a presentation, first start your presentation screens (the message "Please wait for the presentation to start" will appear) and then start the controller screen.
4.4 From Start
This dropdown list may not be clickable everytime, since it needs a saved (previous) session. If the presentation has not been presented yet or no earlier session was saved, then the presentation can only start from the start. However, if there are old session that were saved (i.e. during a workshop at the end of a day) than the presentation can be started from that exact version.
To start the presentation, the user then clicks on the Start button after filling out all dropdown lists.
5 Logging Out of MoLöwe
Users can log out from MoLöwe at any time by clicking on the icon on the top right of the pages in the user interface next to the username.
