Slides
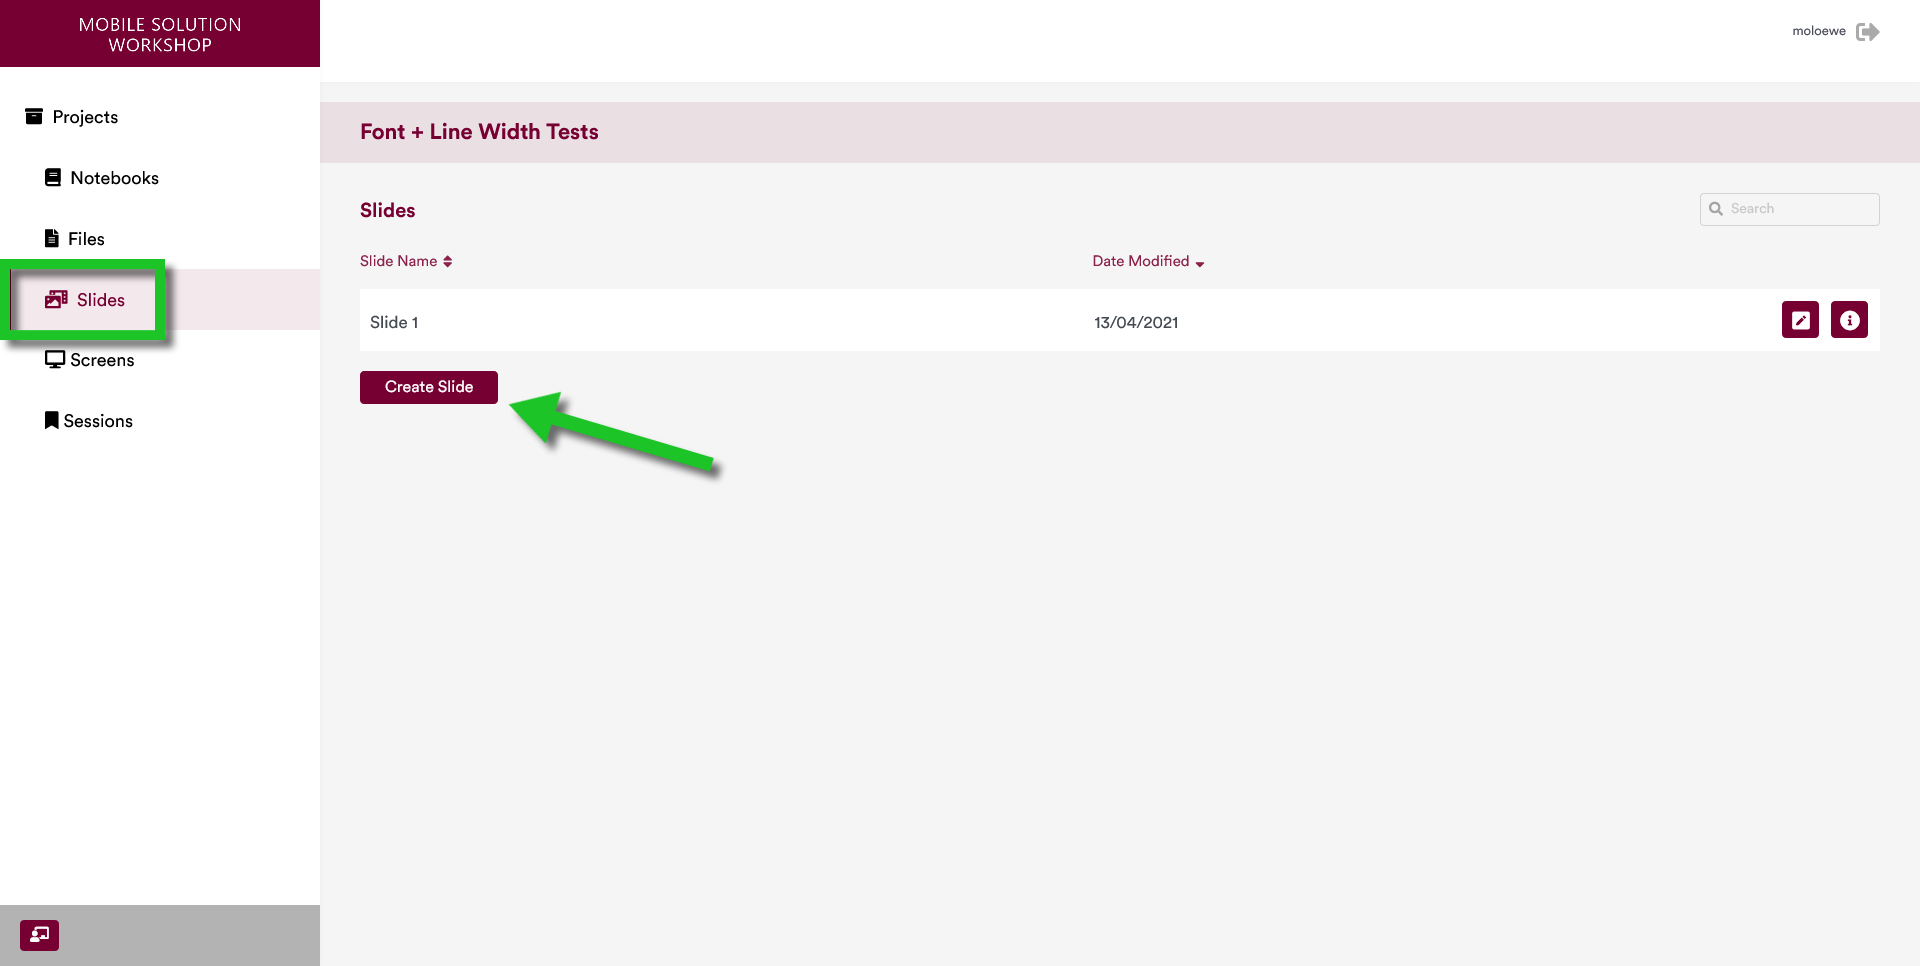
Once you select a project, you can visit the Slides page of the project by clicking on "Slides" on the left panel of the user interface.

The slides page displays the slides associated with a selected project. Additionally, this page allows users to create, edit, and delete slides that they need for their project.
New projects already have an empty slide named "Slide 1" created in the project.
The terms "Slide / Slides" are used in MoLöwe are not the same as the slides that are created for PowerPoint (or Keynote) presentations. MoLöwe offers features that are distinctly different from generic slides. As a result, users are encouraged to not be bound to the notion of slides as they exist in software programs such as PowerPoint and Keynote.
1 Creating New Slides
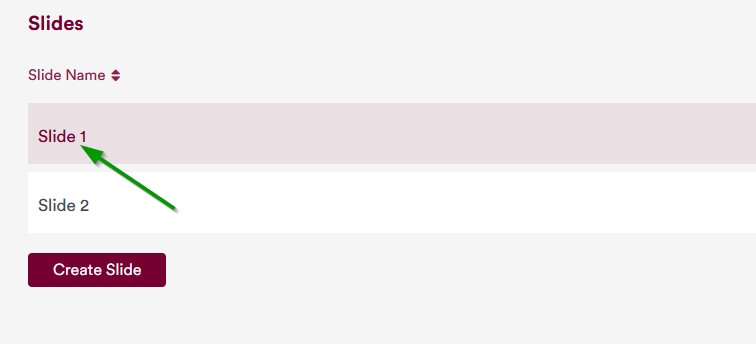
If a user has appropriate access rights, she can create a new slide by pressing on the "Create Slide" button below the list of slides.
The user will be presented a page where the slide being created can be given a name (in the example below, the new slide is named as "Slide 2").
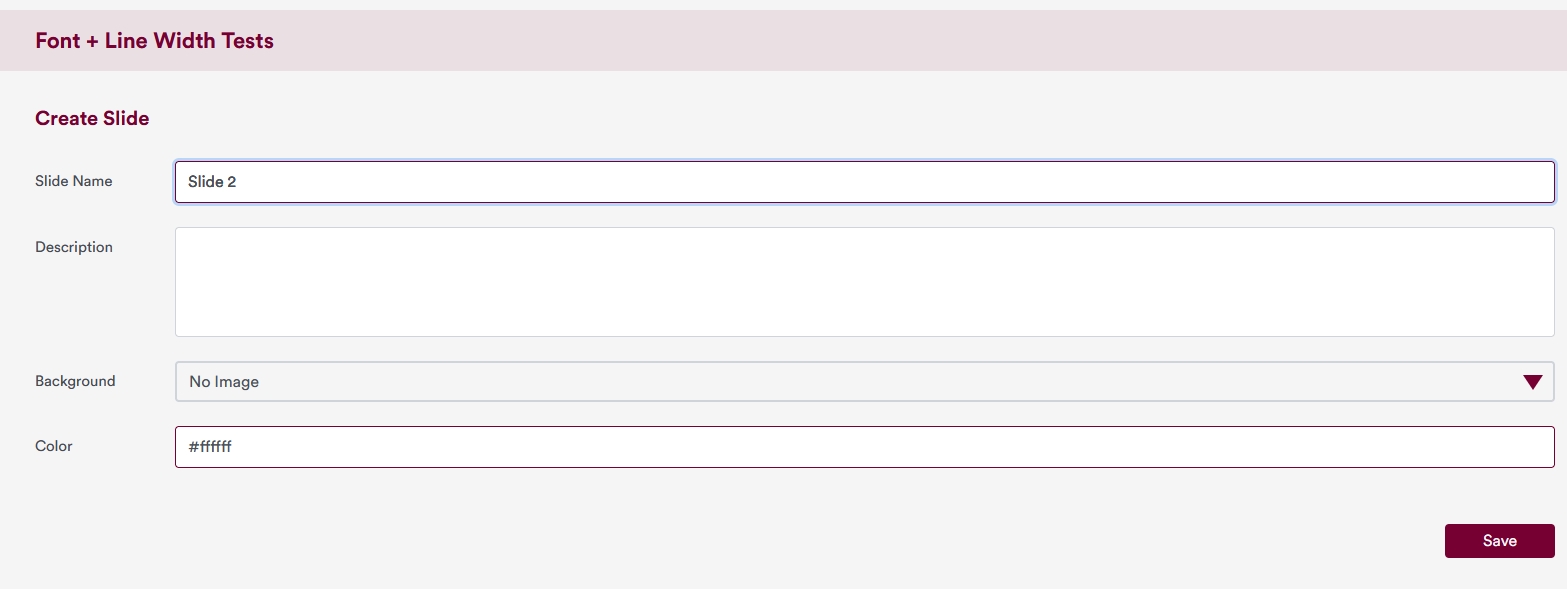
After naming the slide, users can click on "Save" button to confirm creation of the slide.
In the same page, users can also change other metadata of the slide: slide name, slide description, slide background image or slide background color.
2 Editing Slide Details
To edit slide details, click on the "i" icon on the right-hand side of the name of the slide.
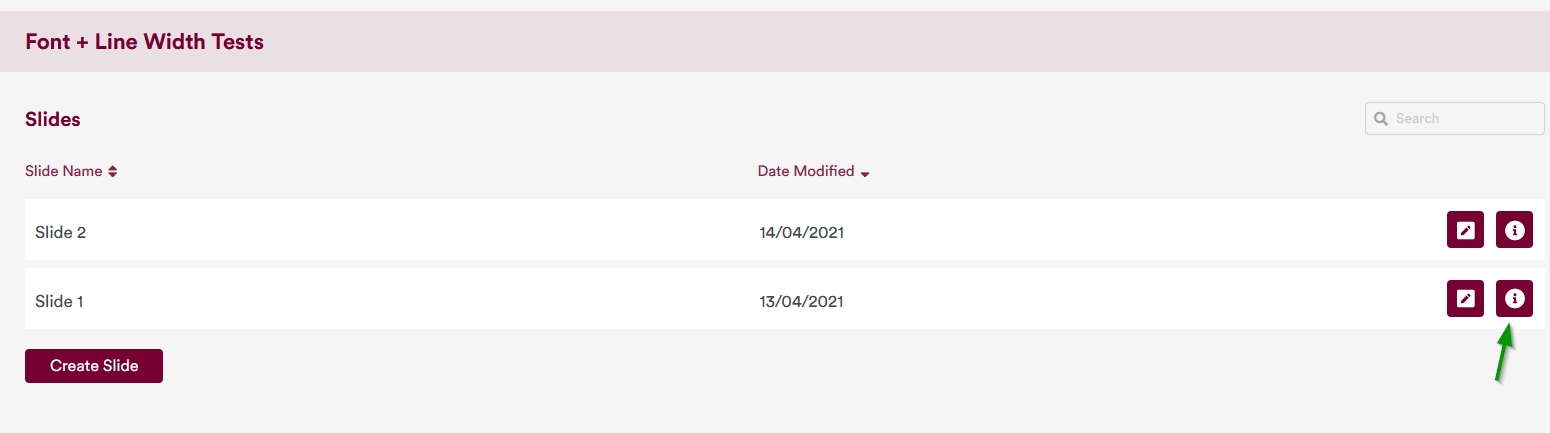
Then, the user is taken to a page where the slide details can be changed.
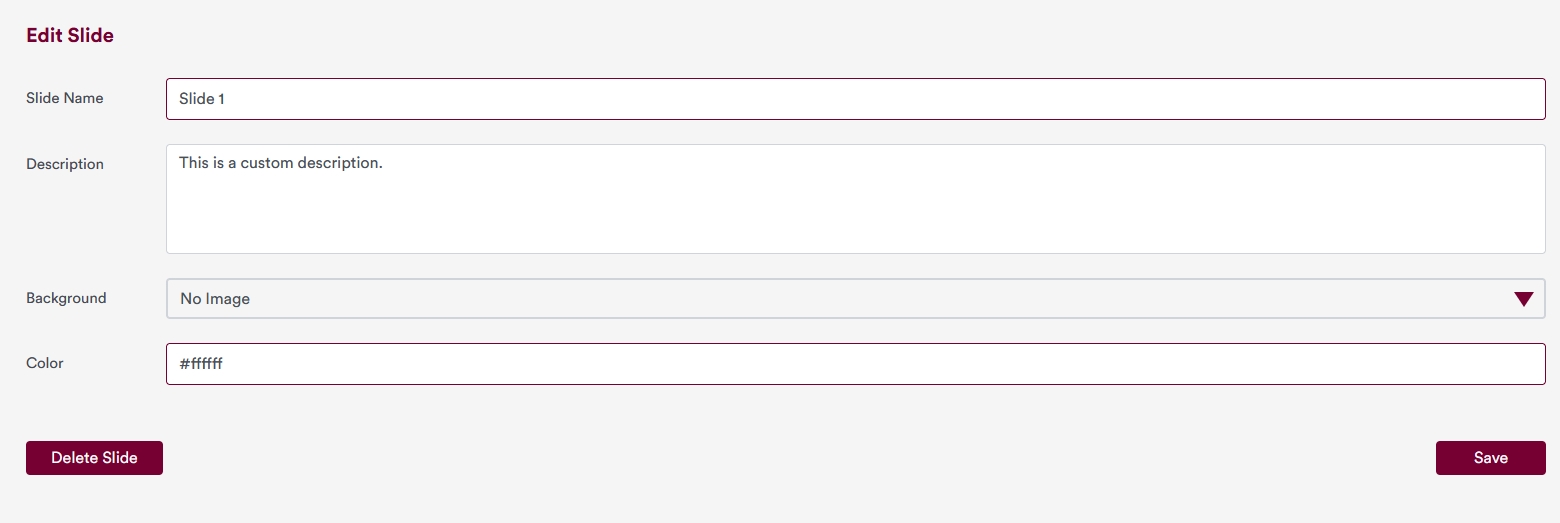
From this page, the following details of the slides can be changed:
- Slide Name
- Slide Description
- Background picture of the slide
- Background color of the slide (if a background picture has been selected, the color that has been selected is ignored)
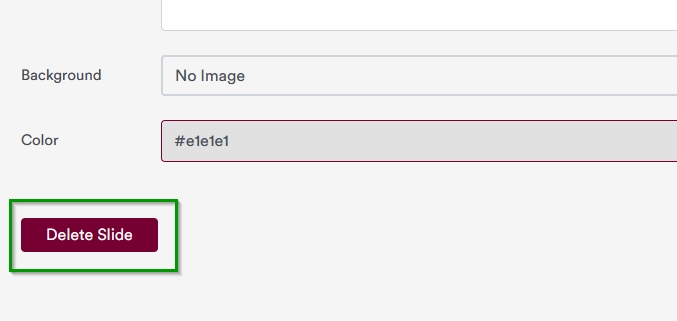
Once the changes have been made, the changes can be saved by pressing on the "Save" button on the right side of the page.
This page also allows users to delete the slide by clicking on the "Delete" button.
3 Different Slide Modes
When it comes to accessing Slides in MoLöwe, there are three main modes: "Edit Mode", "Controller Mode", "Presentation Mode".
3.1 Edit Mode
Edit Mode allows users to edit the contents of the slide. This means that adding a MoLöwe Tool (e.g. Graphs, Maps, Range Sliders, Buttons, etc.) to a slide needs to be done by entering the Edit Mode.
Details on how to access Edit Mode are presented in Section 4 of this page.
3.2 Controller Mode
When a presentation is being carried out using MoLöwe, the presenter interacts with MoLöwe in Controller Mode.
Controller Mode allows users to change the Slides that are associated with Screens. Additionally, the Controller Mode also allows users to change the Screens that are placed on the different Display Devices.
3.3 Presentation Mode
When a presentation is being carried out using MoLöwe, the audience members of the presentation interact with MoLöwe in Presentation Mode.
4 Editing Slides (Edit Mode)
Edit Mode allows users to edit the contents of the slide. This means that adding a MoLöwe Tool (e.g. Graphs, Maps, Range Sliders, Buttons, etc.) to a slide needs to be done by entering the Edit Mode.
To edit a slide (in this case "Slide 1"), click on the name of the slide.
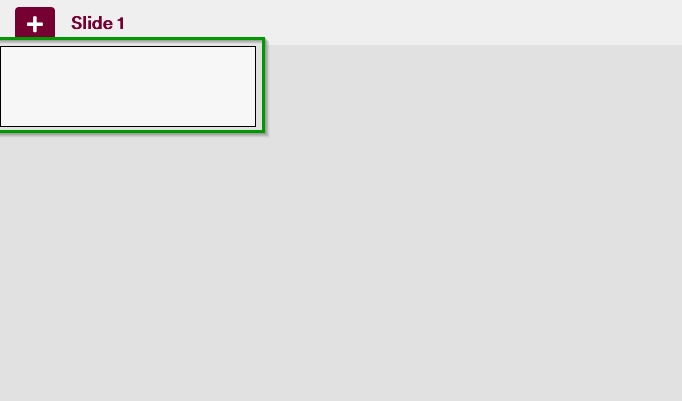
In Edit Mode, an empty slide with a gray background looks like the following.
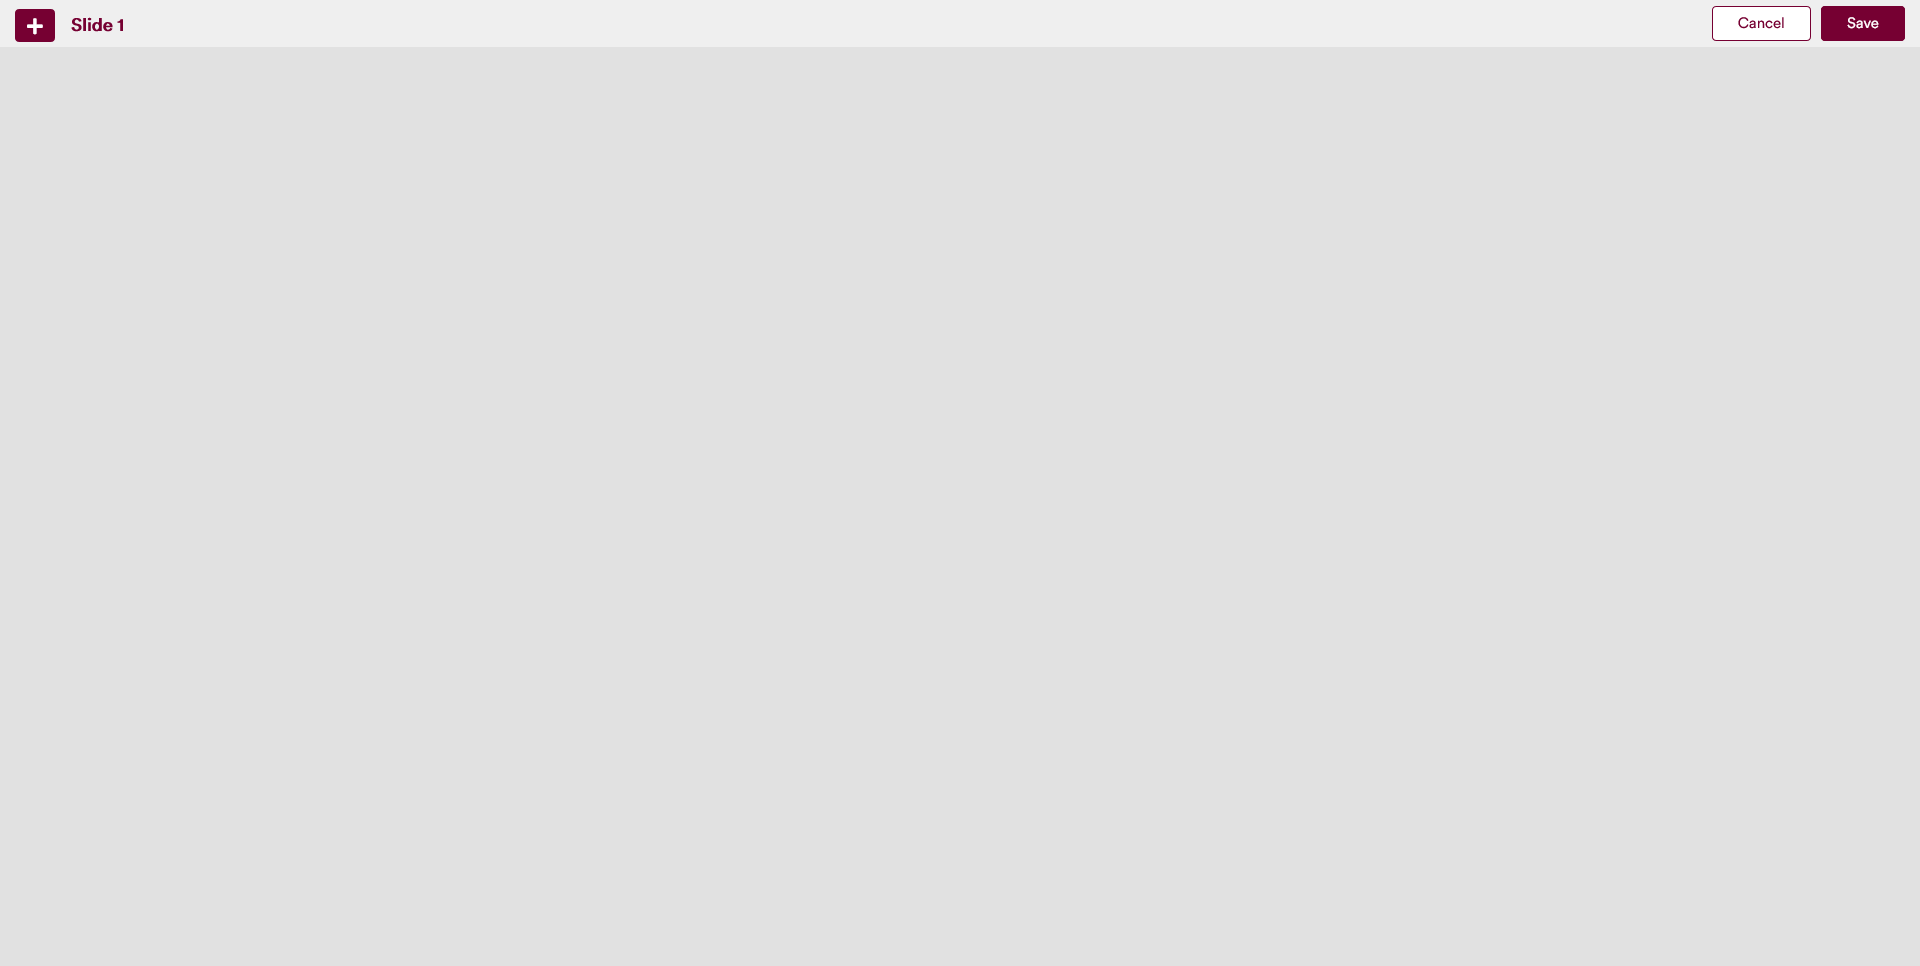
Users can add different MoLöwe Tools to the slide by clicking on the "+" button on the top left of the page.

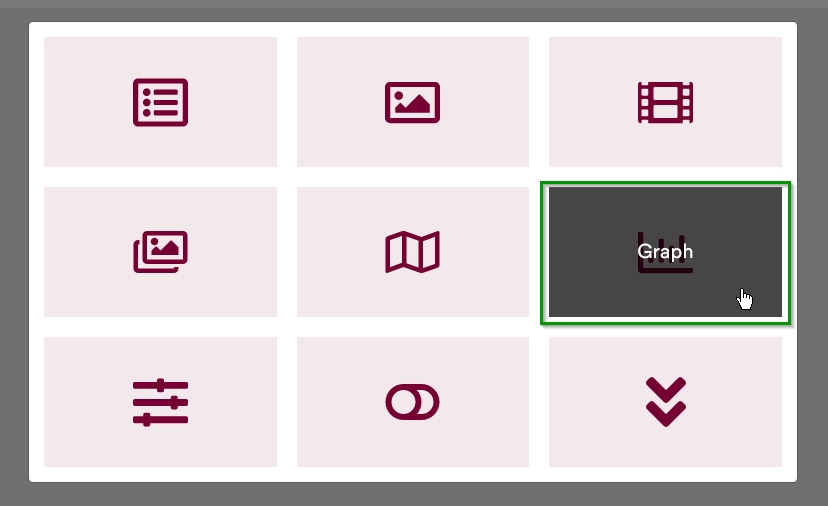
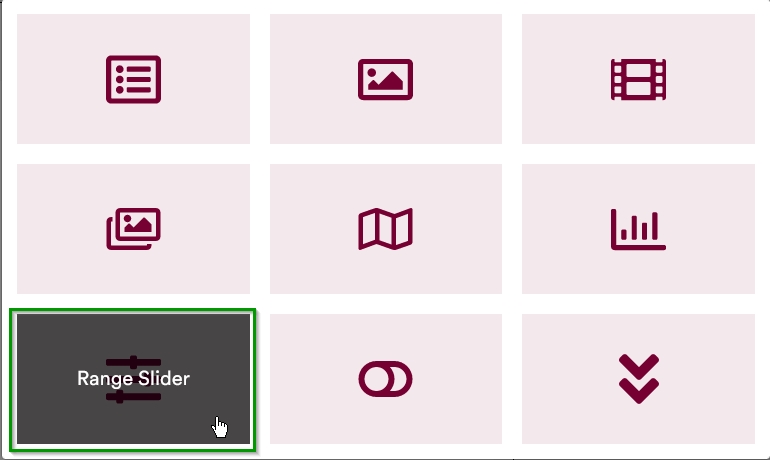
Clicking on the button will open a panel of options for the different tools that users can add to the slide. This panel of options looks like the following:
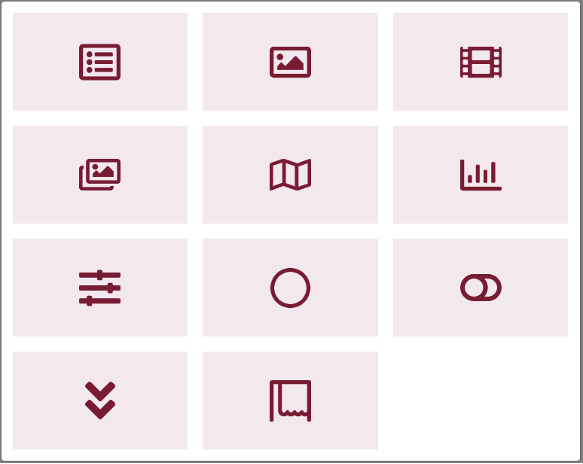
Two examples for how different tools can be placed on a Slide are presented in subsections below.
5 Edit Mode Example 1: Add a Graph
To add a graph, click on the Graph icon (signified by a bar chart).
This will place a container for the Graph Tool onto the slide.
When a user hovers over this container, they will be presented with a gear icon that they can click on.

Clicking on this icon opens an interface that allows users to select the graph that they want to add to the slide.
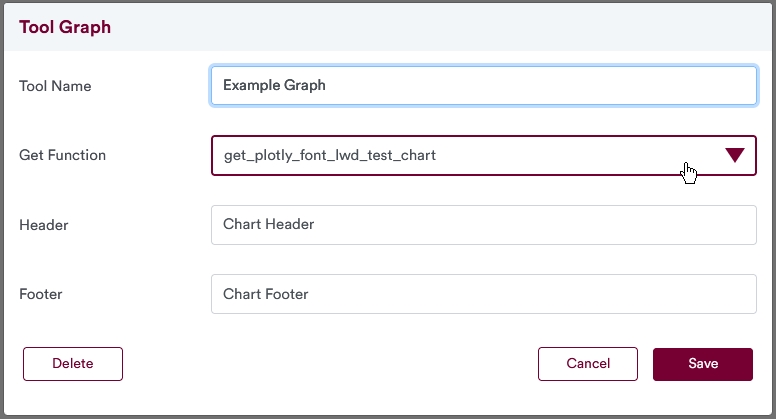
The required fields in this interface are Tool Name and Get Function. The Tool Name is a unique identifier for the tool, whereas the Get Function is a function that is defined in the Project Notebook. The Header and Footer text are optional.
Visit the MoLöwe Tools Chapter for more information on the different tools.
When the Tool Name and Get Functions have been set/selected, users can click on the "Save" button. Then, users are taken back to the slide in Edit Mode.
They can then resize and reposition the size of the tool on the Slide canvas as described here.
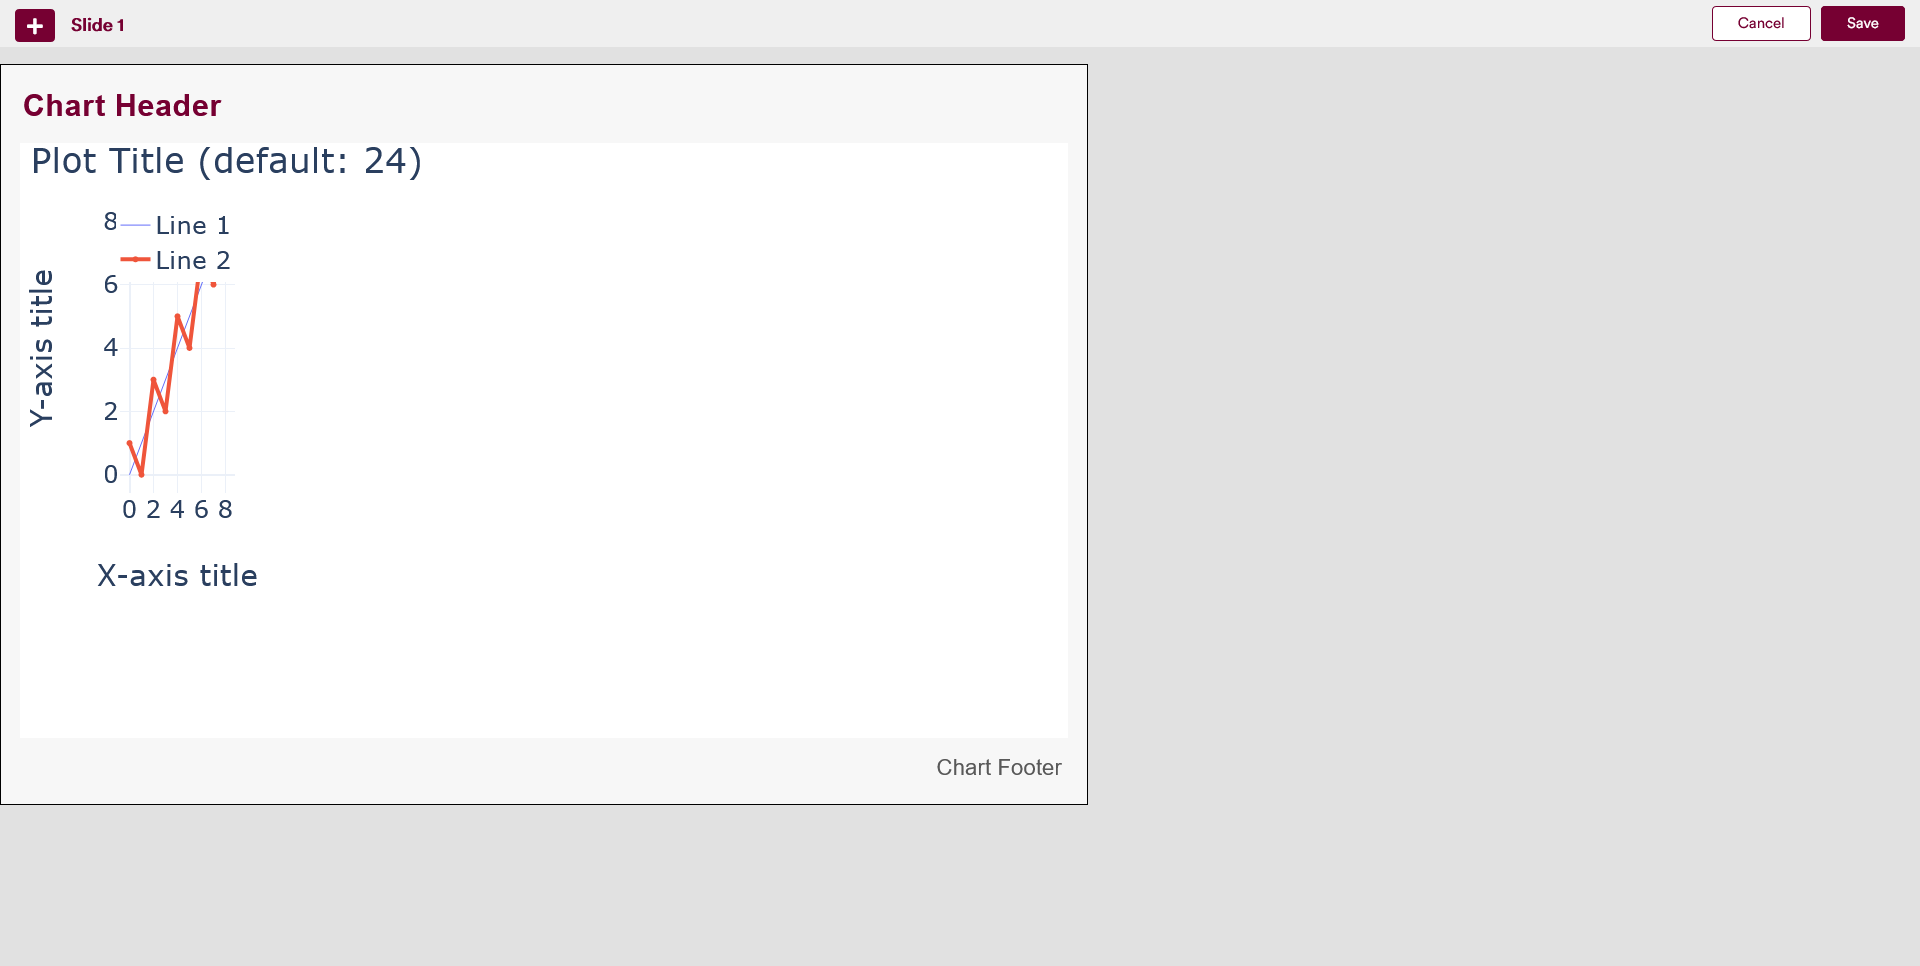
The Graph might not render properly when in Edit Mode. However, when in Presentation Mode or in Controller Mode, provided that there are no errors in the code in the Project Notebook, the Graph will render properly to fill the container that it is placed in.
In case of this example, the resized chart that has been placed in the slide looks like the following.
In the next example, a range slider tool will be added to the slide.
6 Edit Mode Example 2: Add a Range-Slider Tool
Adding a range slider tool involves the general steps mentioned above.
To add a Slider, click on the slider icon from the tool selection panel.
This will place a container for the Slider Tool onto the slide. This will look identical to the initial container for the Graph Tool shown above. Following the steps described in Example 1 above, users can open an interface that allows them to select the range slider tool that they want to place on the slide by clicking on the gear icon that appears when they hover over the container using their mouse.
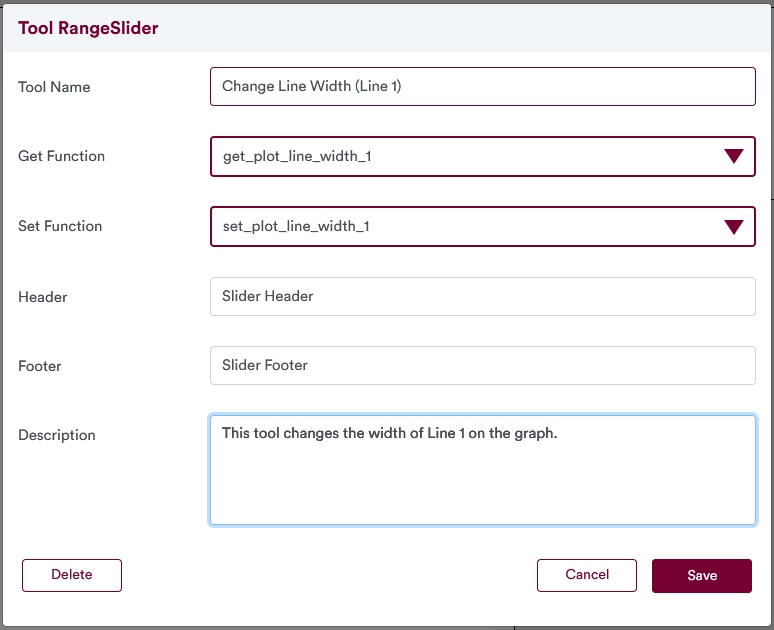
The required fields in this interface are Tool Name, Get Function, and Set Function. The Tool Name is a unique identifier for the tool, whereas the Get Function and the Set Function are functions that are defined in the Project Notebook. The Header, Footer, and Description texts are optional.
Visit the MoLöwe Tools Chapter for more information on the different tools.
7 Deleting Slides
Navigate to the page where slide details can be changed by following steps detailed in Step 2.
This will lead to a page where you can edit details of the slide (see below).
The same page also allows users to delete or export a given slide. This can be done by pressing the delete button on the bottom left side (see below).