Notebooks
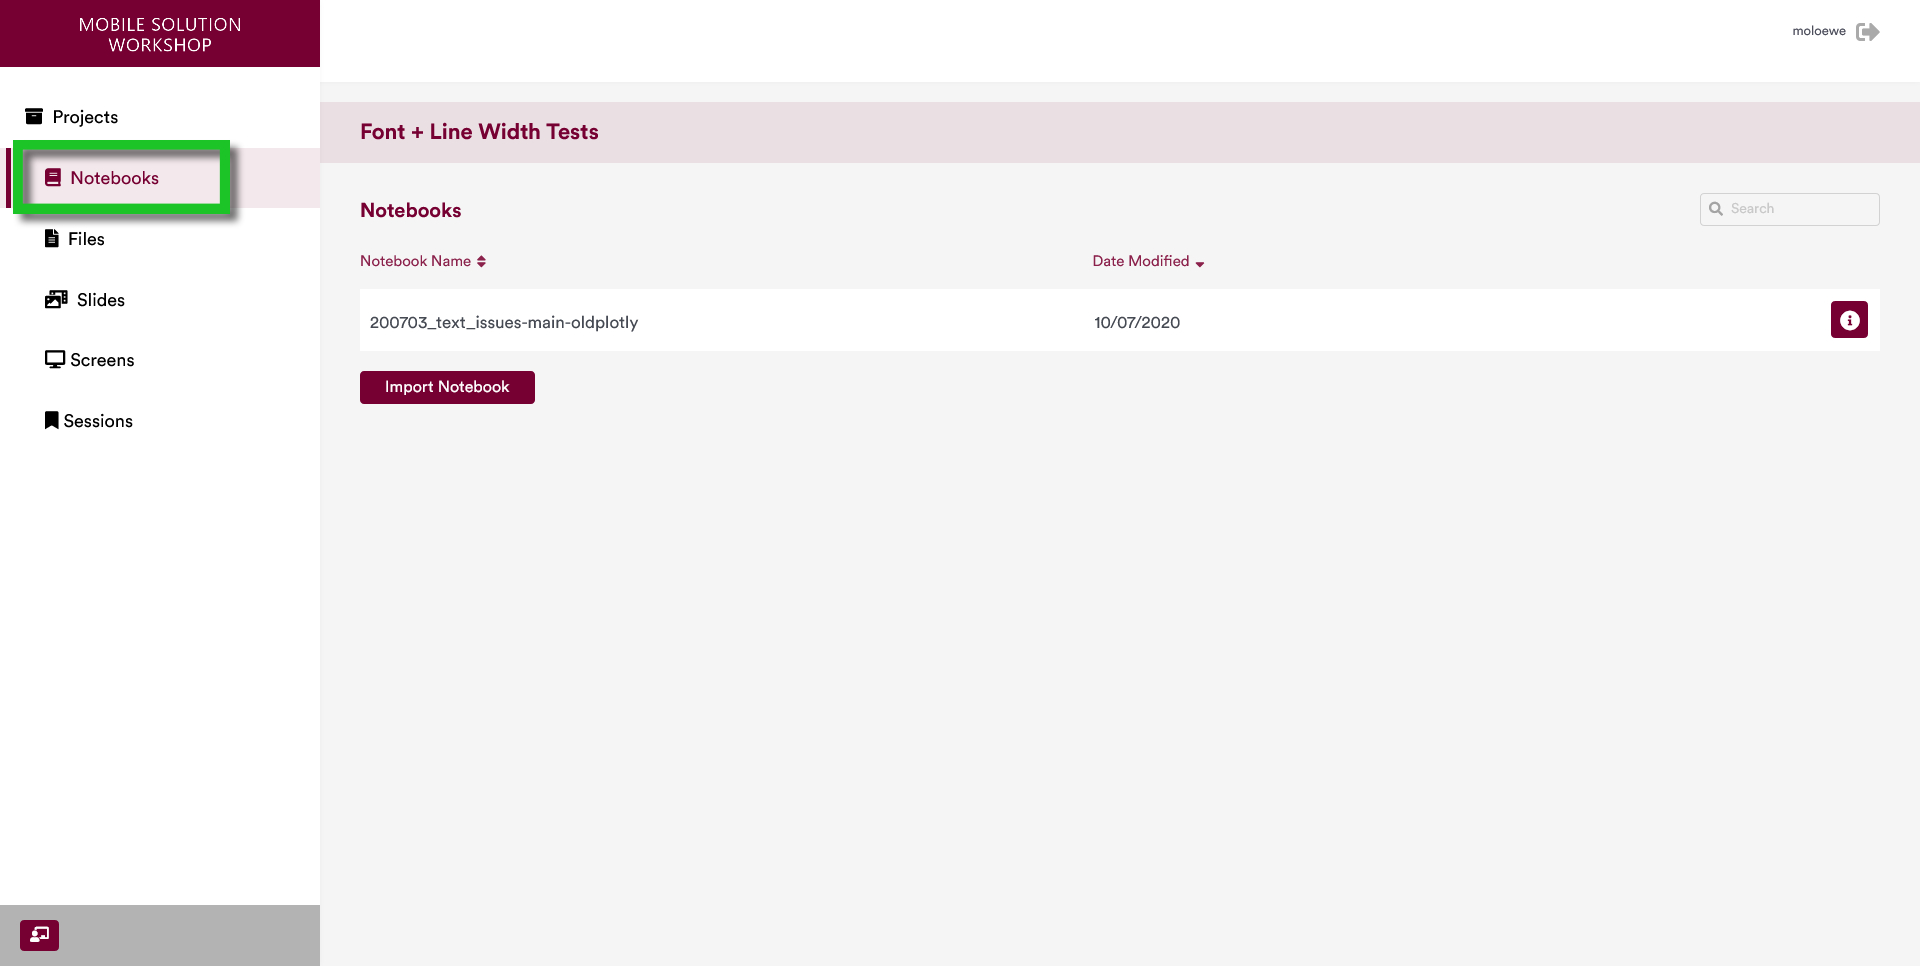
Once you select a project, you can visit the Notebooks Page by clicking on "Notebooks" in the sidebar on the left.
Here you can find the Project Notebook of the project.
By default, a new project has a Project Notebook named Template Notebook automatically placed on this page. Users can download this notebook and edit it for their project if they so choose.
1 Download a Project Notebook
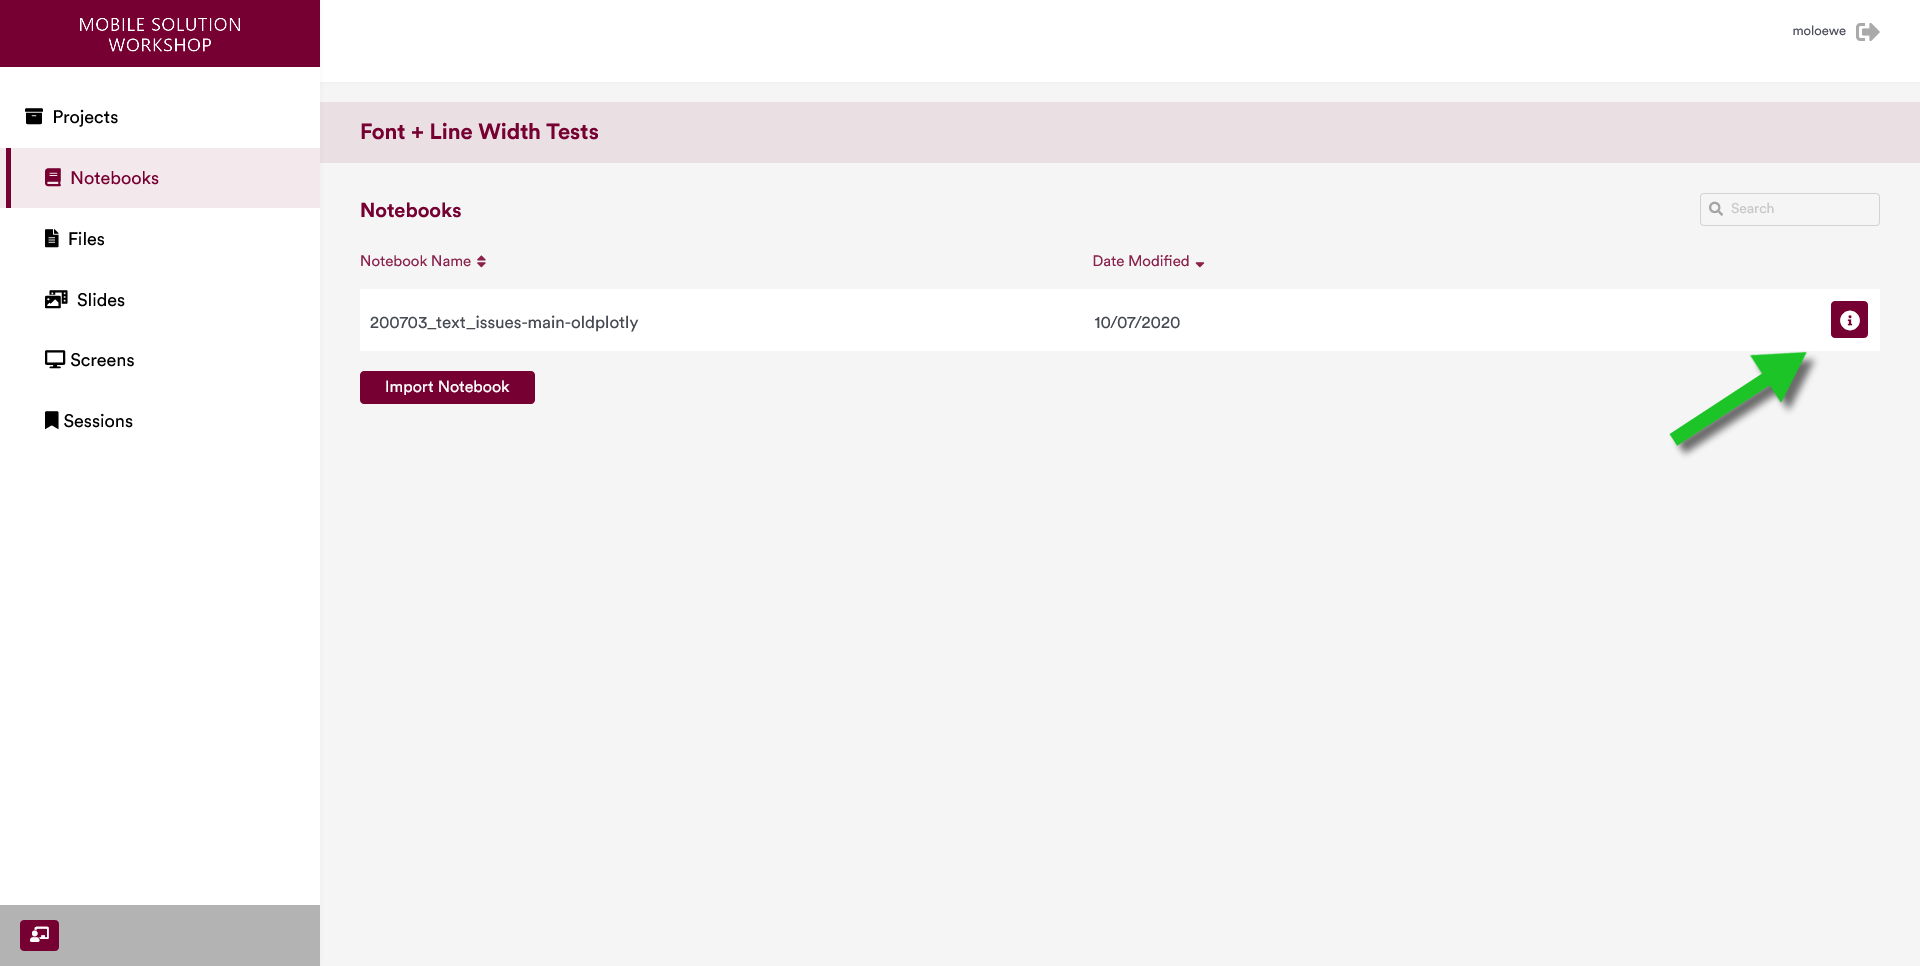
To download a Project Notebook, click on the "i" icon on the right-hand side of the name of the notebook.
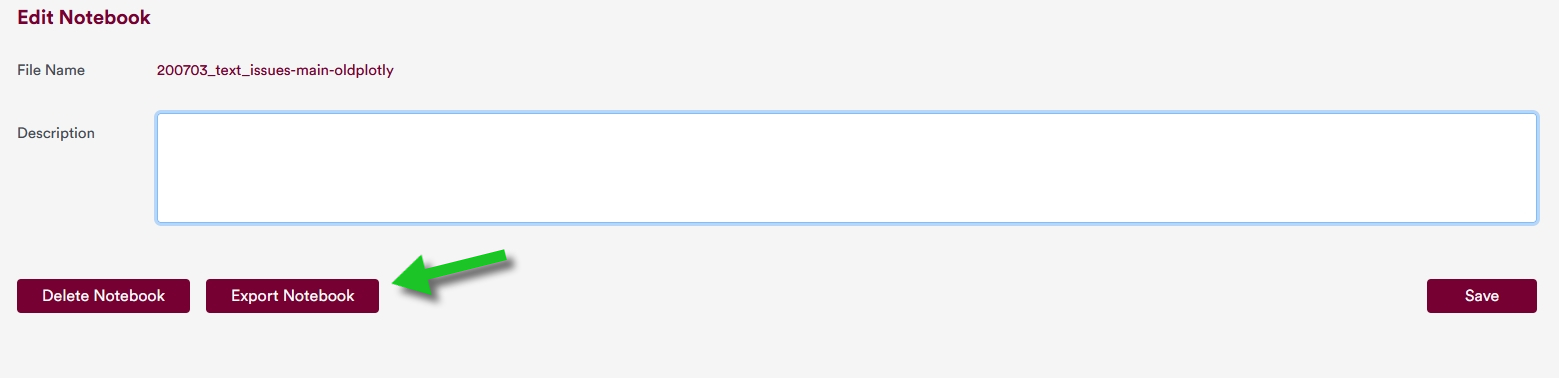
Then click on the "Export Notebook" button.
2 Upload a new Project Notebook
Before you upload a Project Notebook, make sure that its filename is in lower case!
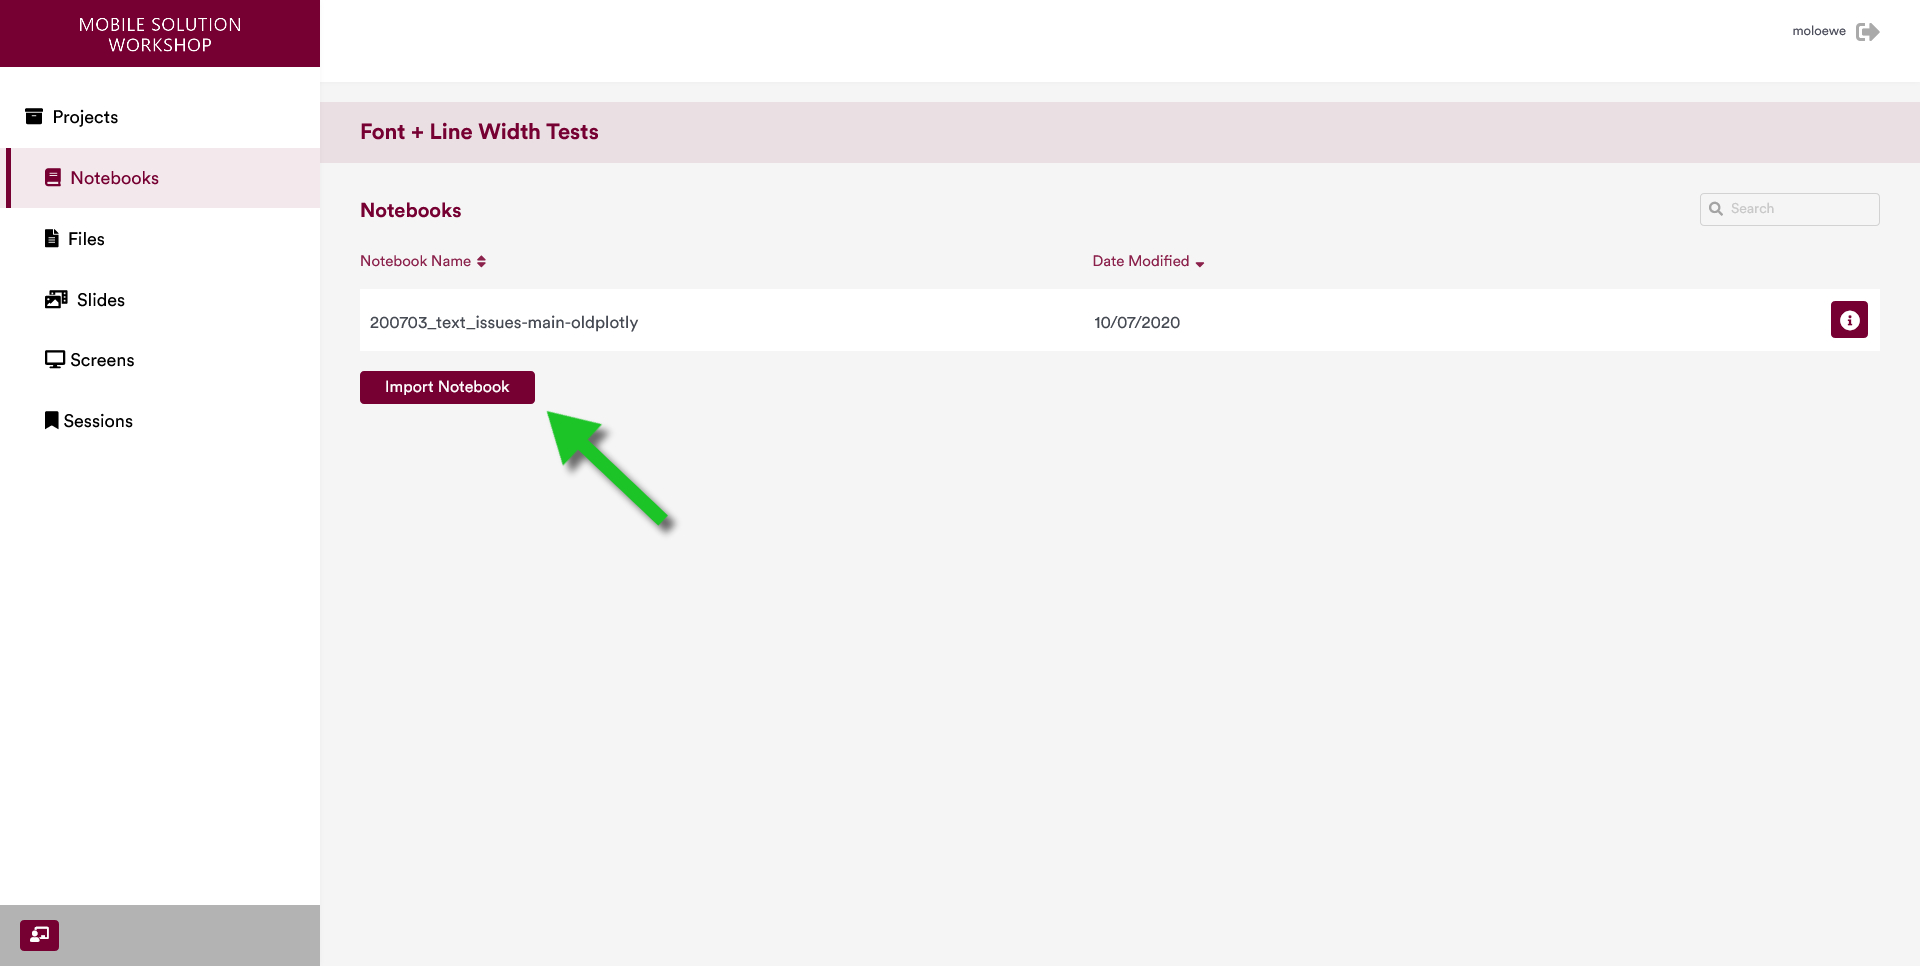
Users can upload a new Project Notebook by clicking on the "Import Notebook" button.
When the "Import Notebook" button is clicked, you are presented with a page that allows uploading a new notebook. A new notebook can be uploaded from your computer by clicking on "Click here to select file ..." button as shown below.
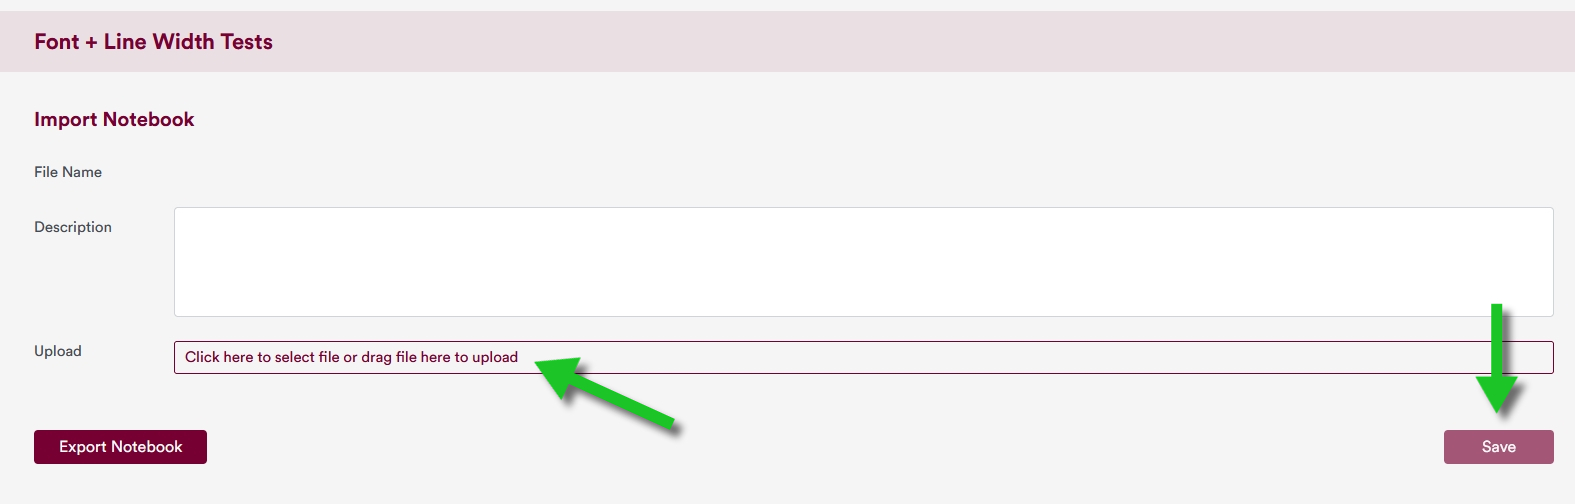
Once a new notebook has been selected, the changes can be saved by clicking on the save button on the bottom right side of the page.
3 Edit Project Notebook Description
Notebooks can be given custom descriptions. This can be done by click on the "i" icon on the right-hand side of the name of the notebook.
You can enter the notebook description in the "Description" field.
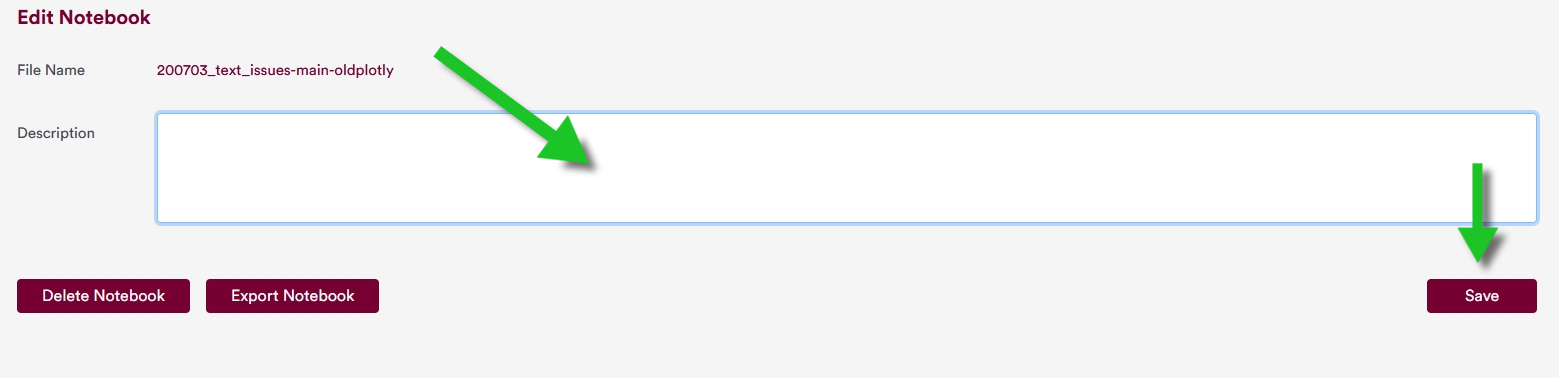
Once a description text has been typed in to the description box, the changes can be saved by clicking on the "Save" button.
4 Delete a Project Notebook
To delete a Project Notebook, enter the page that allows users to change notebook details by following Section 3 outlined above. This should take users to the following page. To delete a Project Notebook, click on the "Delete Notebook" button.
