Screens
Once you select a project, you can visit the Screens page of the project by clicking on "Screens" on the left panel of the user interface.
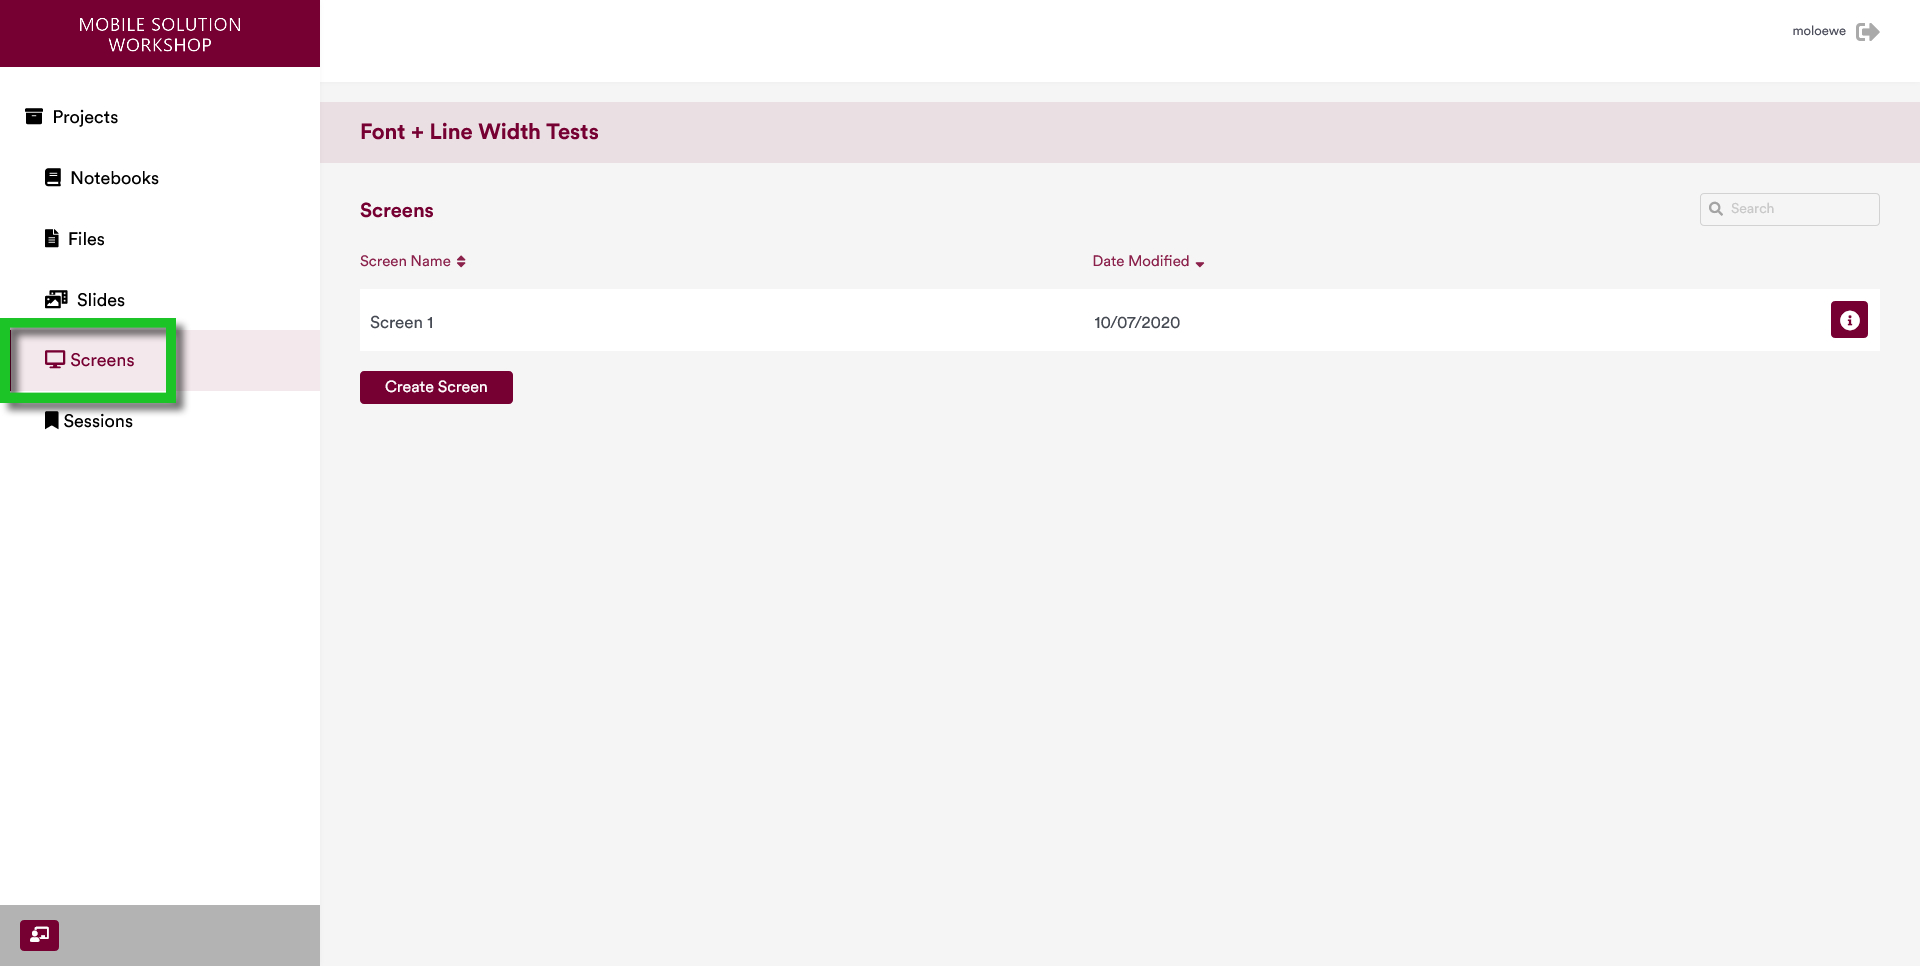
The screens page displays the screens associated with a selected project. Additionally, this page allows users to create, edit, and delete screens that they need for their project.
Note that the colloquial meaning of screens as display devices differs from the meaning assigned to "Screen / Screens" in MoLöwe. Display devices are referred to either as "monitor / monitors" or as "display device / display devices".
One of the primary features of MoLöwe is that it supports multi-monitor presentations.
Assuming that there are Z number of display devices available and that a project contains X number of Slides and Y number of Screens, following are relevant information on the Screens:
- The values of X, Y, and Z do not have to be the same. More Screens than the available number of display devices can be defined.
- Each Screen in a project contains a "Start Slide" which acts as the default Slide associated with the Screen for the project at the beginning of the presentation.
- The Slides of the project can be placed into different Screens. The default "Start Slide" can be changed by following steps outlined in Step 3 below.
- All Screens must contain a Start Slide. However, not all Slides need to be associated with a Screen.
- The Screens of a project can be selected and placed on any display device.
- The Screens of a project placed on a display device can be changed during the presentation from the Controller Mode.
- The Slides associated with a given screen can be changed during the presentation from the Controller Mode.
1 Creating New Screens
By default, a project will initialize with a screen (named "Screen 1" by default) that contains as its Start Slide a Slide that has also automatically generated (named "Slide 1" by default).
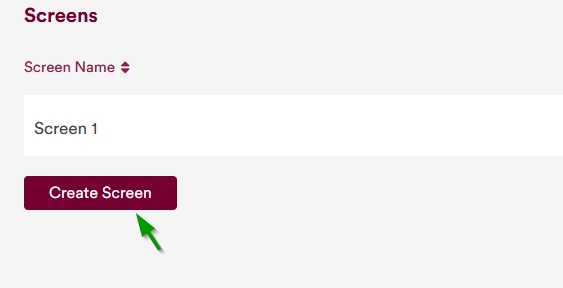
If a user has appropriate access rights, she can create a new Screen by pressing on the "Create Screen" button below the list of Screens.
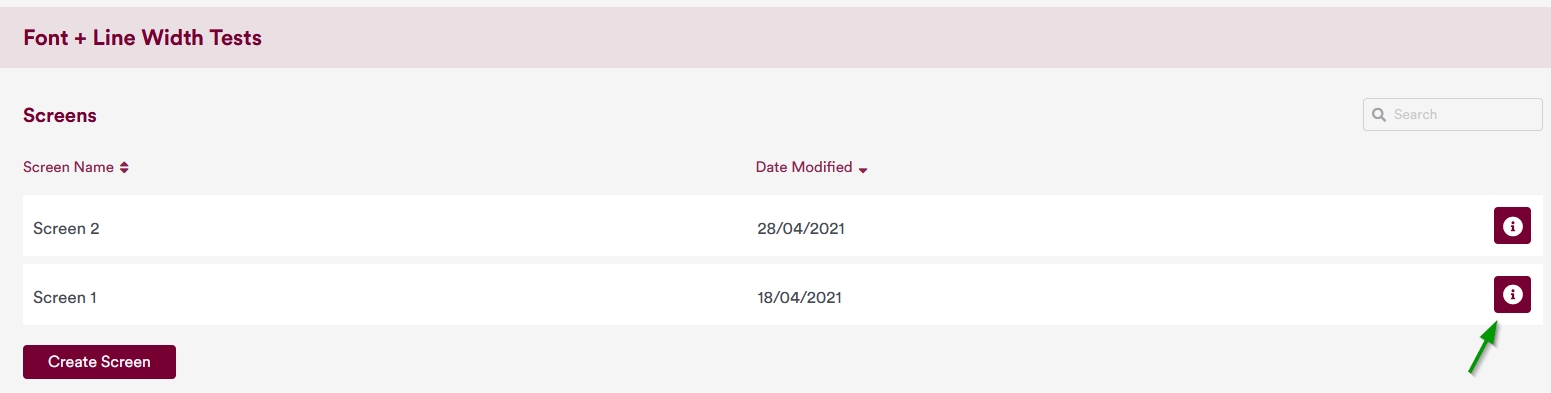
Then, the users will be presented a page where the Screen being created can be given a name (in the example below, the new Screen is named as "Screen 2").
Additionally, the Start Slide to be associated with this Screen also needs to be selected in this step.

After naming the Screen, users can click on "Save" button to confirm creation of the Screen.
In the same page, users can also change other metadata of the Screen; namely, Screen name, and Screen description.
2 Editing Screen Details
Screens can be given custom names, descriptions, and a Start Slide. To edit these parameters, users can click on the "i" icon on the right hand side of the name of the Screen from the Screens page.
Then, the user is taken to a page where the Screen details can be changed.
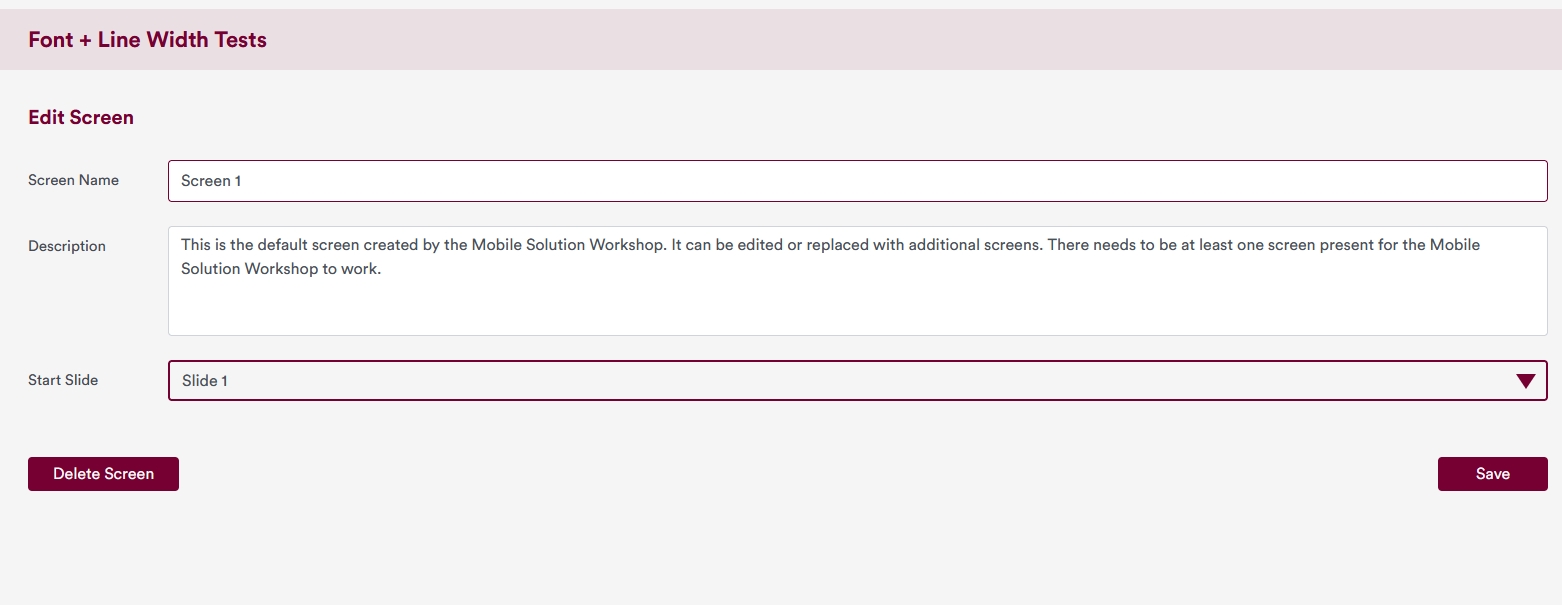
From this page, the following details of the Screens can be changed:
- Screen Name
- Screen Description
- Start Slide associated with the Screen
Once the changes have been made, the changes can be saved by pressing on the "Save" button on the right side of the page.
This page also allows users to delete the Screen by clicking on the "Delete" button.
3 Deleting Screens
The interface that is used to edit the details of screens (outlined in Step 2 above) also allows users to delete the Screen by clicking on the "Delete" button.