Files
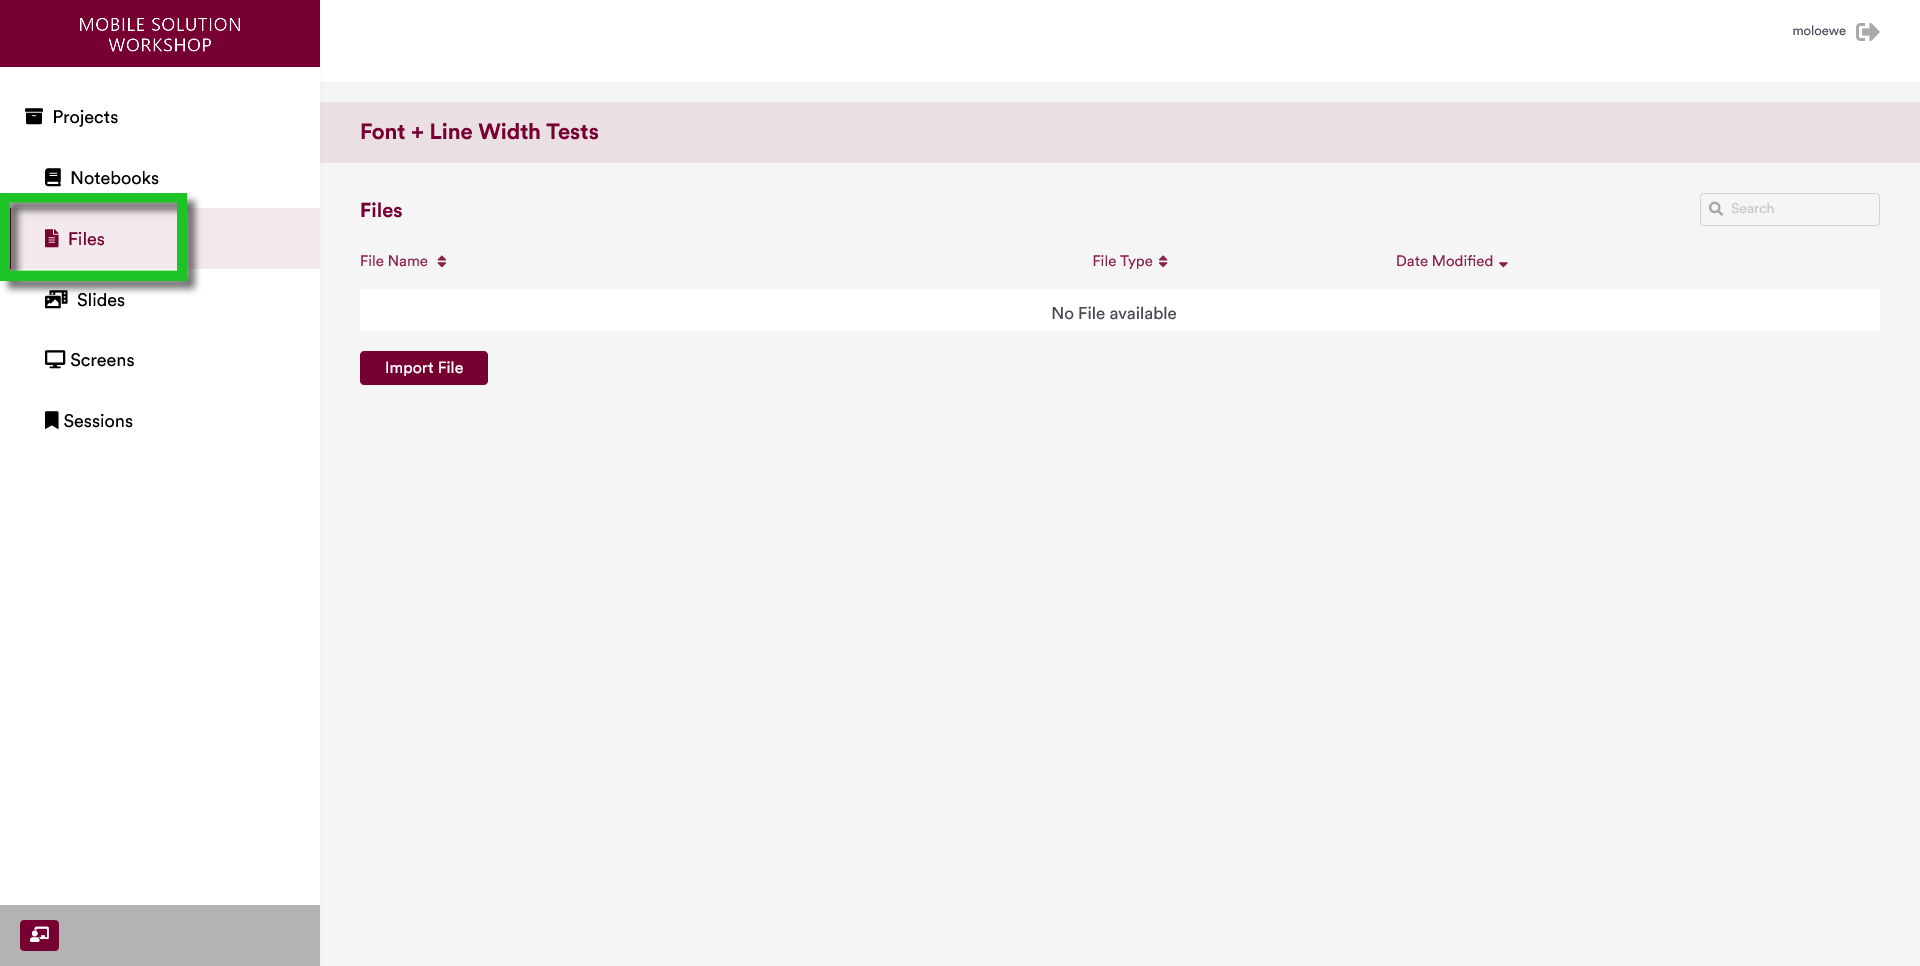
Once you select a project, you can visit the Files Page of the project by clicking on "Files" in the sidebar on the left.
The Files Page displays the files that were uploaded to the project. Additionally, this page allows users to upload files to their project.
1 Supported Files
Below are the files that can be uploaded to the MoLöwe:
| File Extension | Description |
|---|---|
.PNG | Image |
.JPG or .jpg | Image |
.JPEG or .jpeg | Image |
.MP4 or .mp4 | Video file |
.txt | Text file |
.pdf | PDF file |
.md | Markdown file |
.html or .HTML | HTML file |
.shp, .shx, .prj and .dbf | Shapefile extensions |
.csv | CSV File |
Accessing files via the Project Notebook is discussed in chapter Setting up Tools and Content.
2 Upload a new File
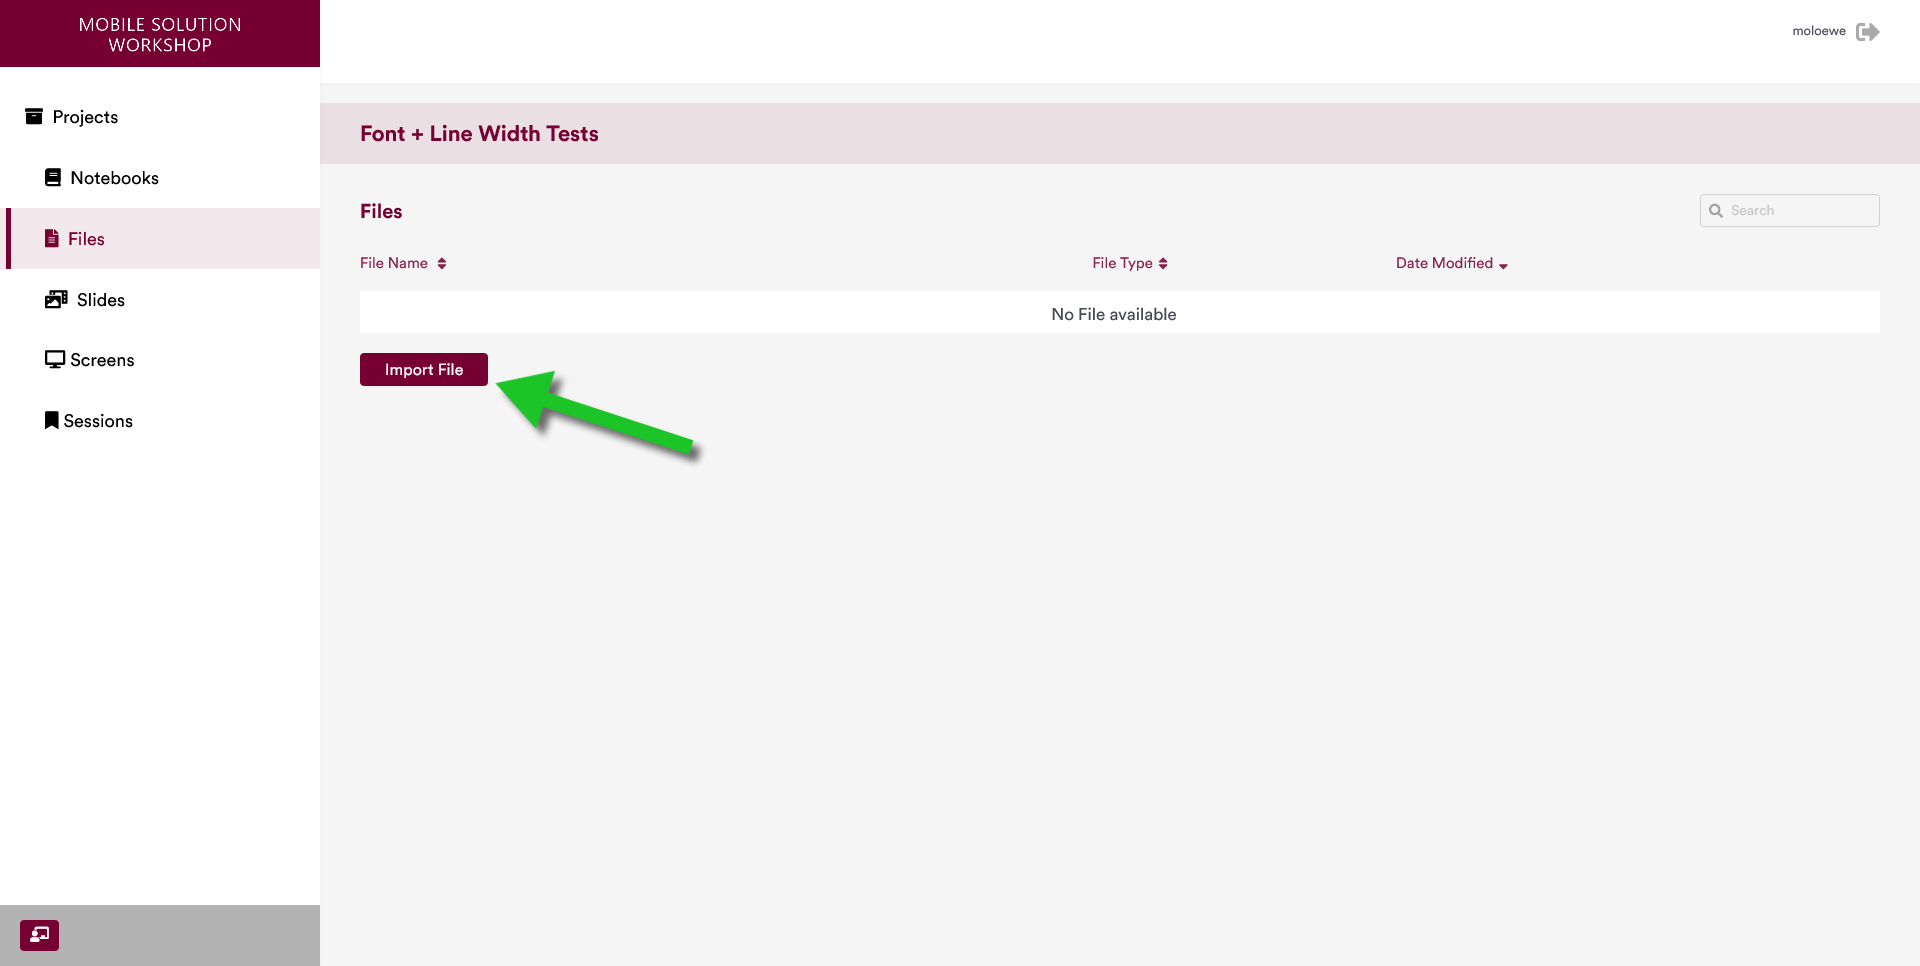
A new file can be uploaded to a project by clicking on the "Import File" button.
This will open a new page that allows users to upload a new file by clicking on "Click here to import file ..." button (shown below).
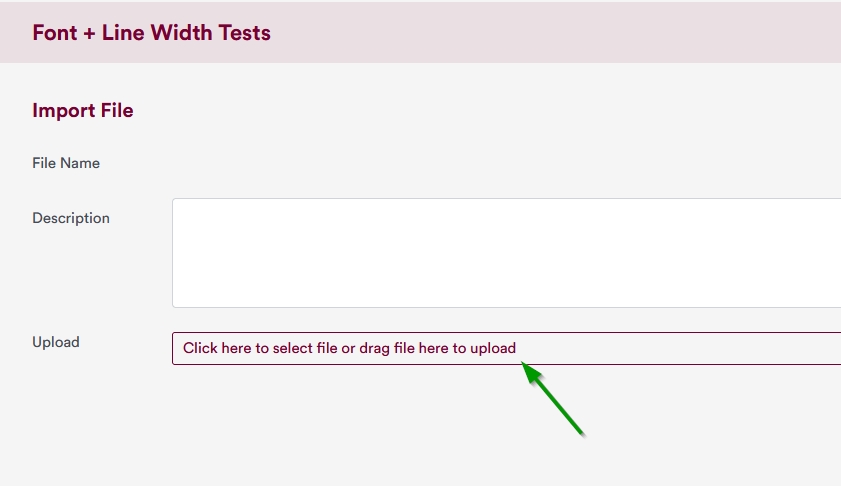
Users can also add descriptions to the files if they need.
The uploaded file can be saved to the system by clicking on the "Save" button on the bottom right of the page.
Not all file types are supported. Please read the information from section 1 of this page before uploading a file.
3 Edit File Details
Files can be given custom descriptions. This can be done by clicking on the "i" icon on the right hand side of the name of the file.

When that button is pressed, the interface changes into a page that allows for the file details to be changed.
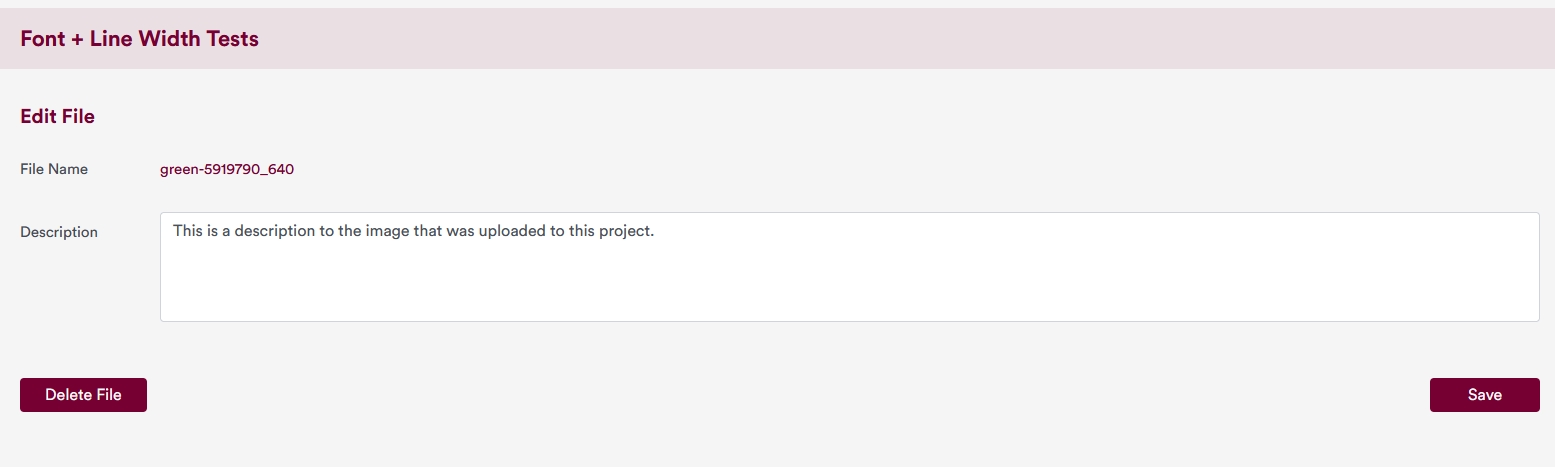
Once a description text has been typed in to the description box, the changes can be saved by clicking on the "Save" button on the bottom right.
4 Delete a File
To delete a file, enter the interface that allows users to change file details by following section 3 outlined above. This should take users to the following page.
To delete the file, click on the "Delete File" button on the bottom left.